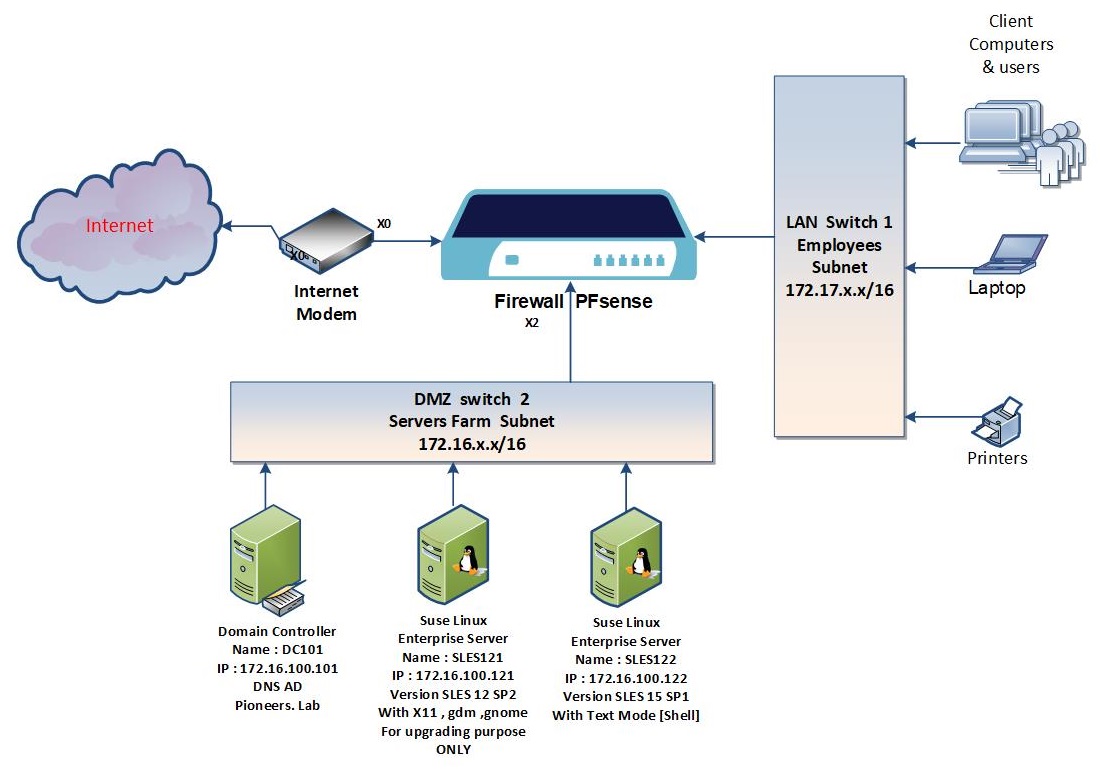
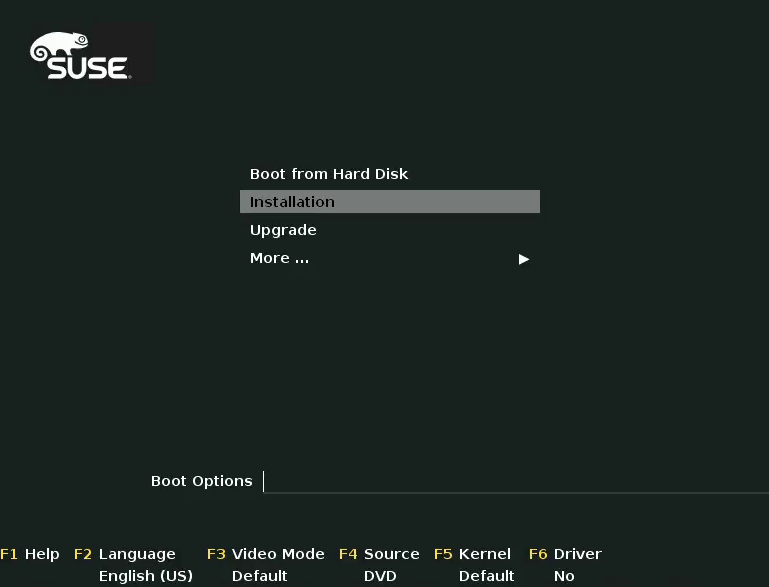
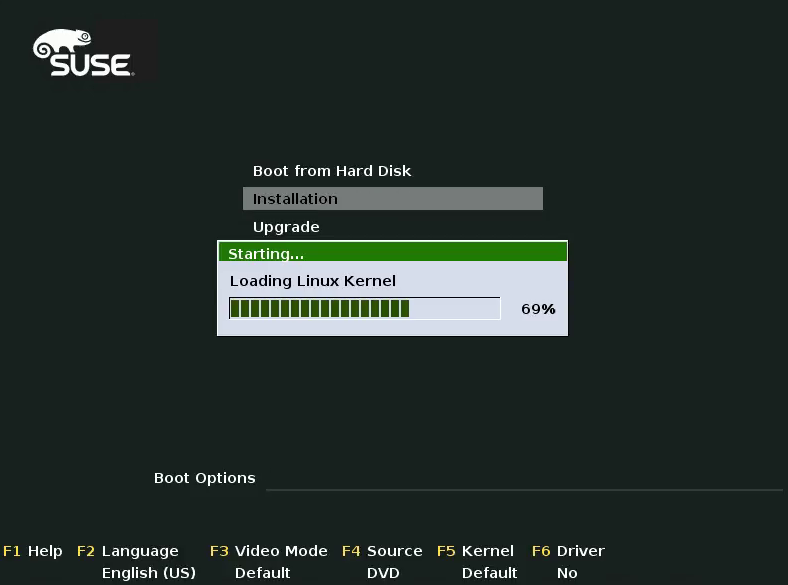
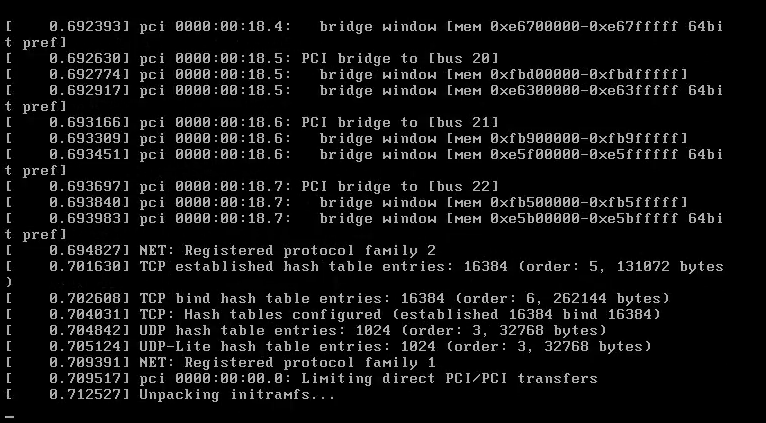
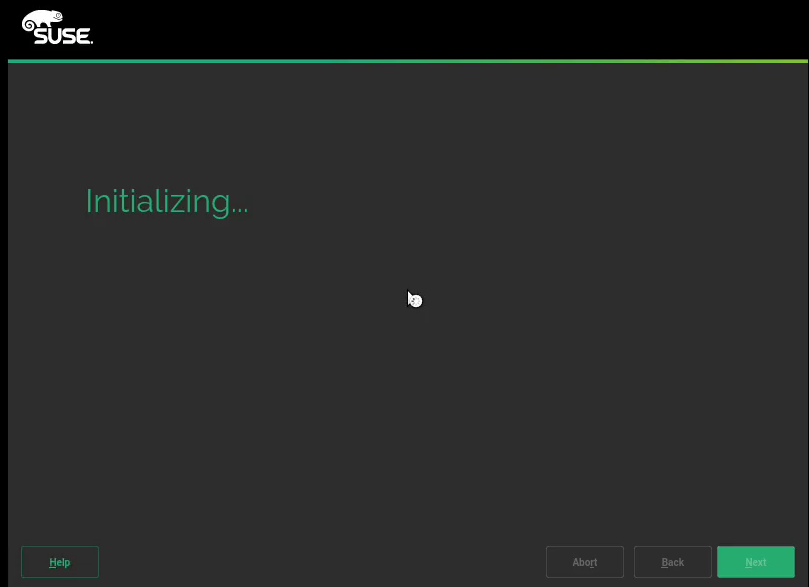
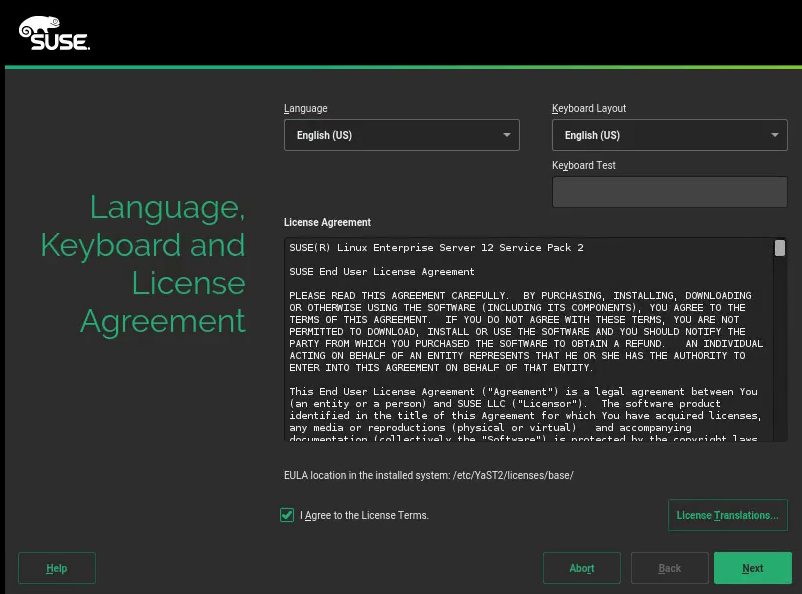
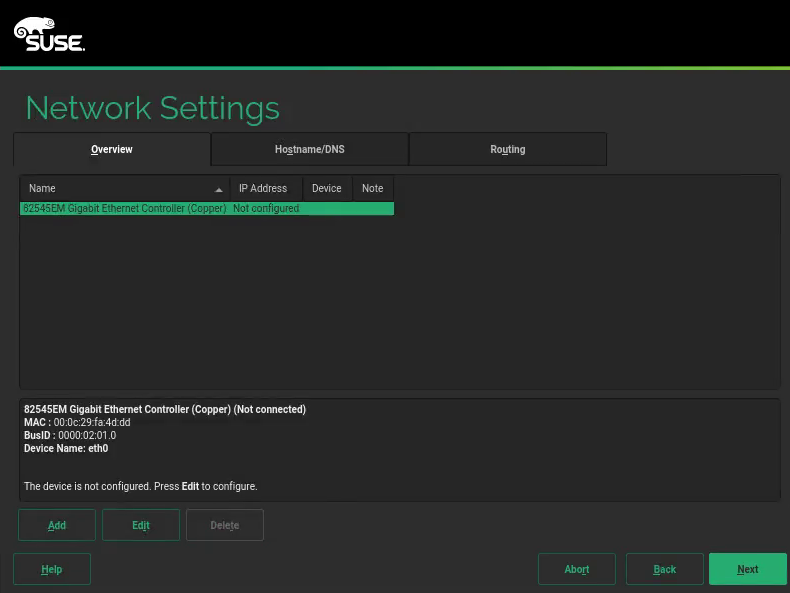
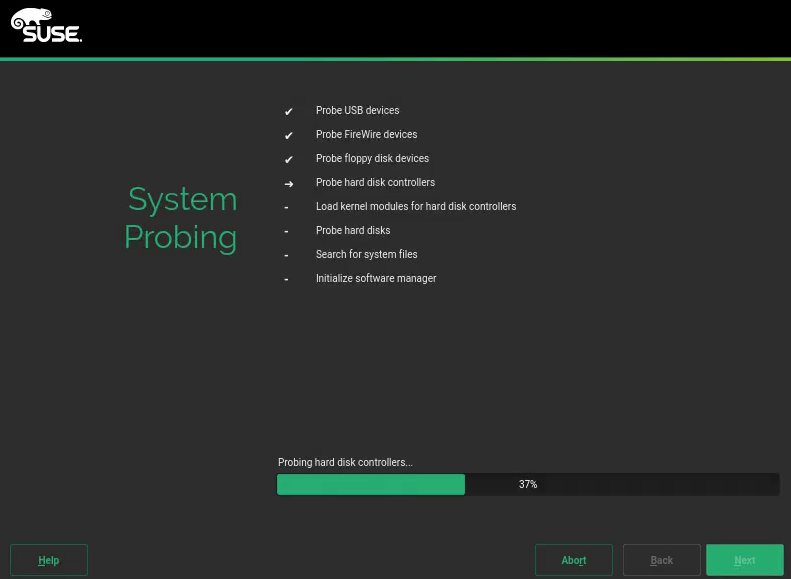
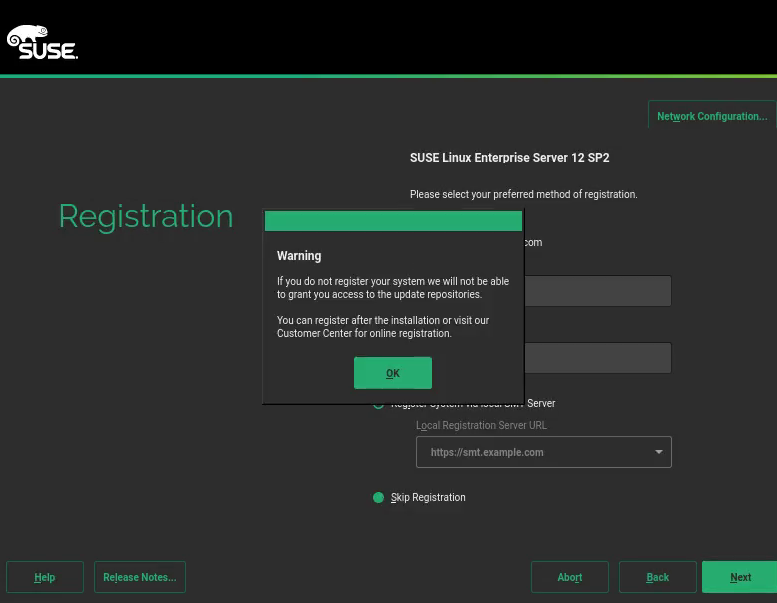
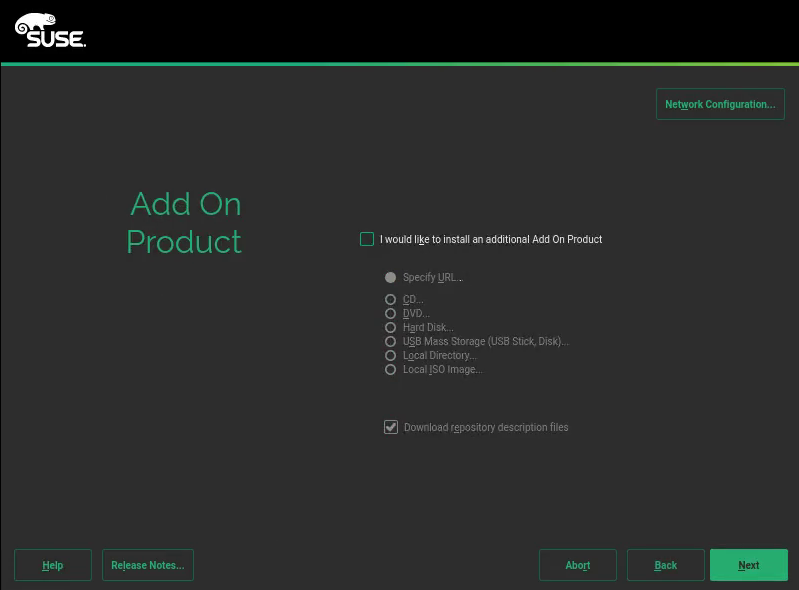
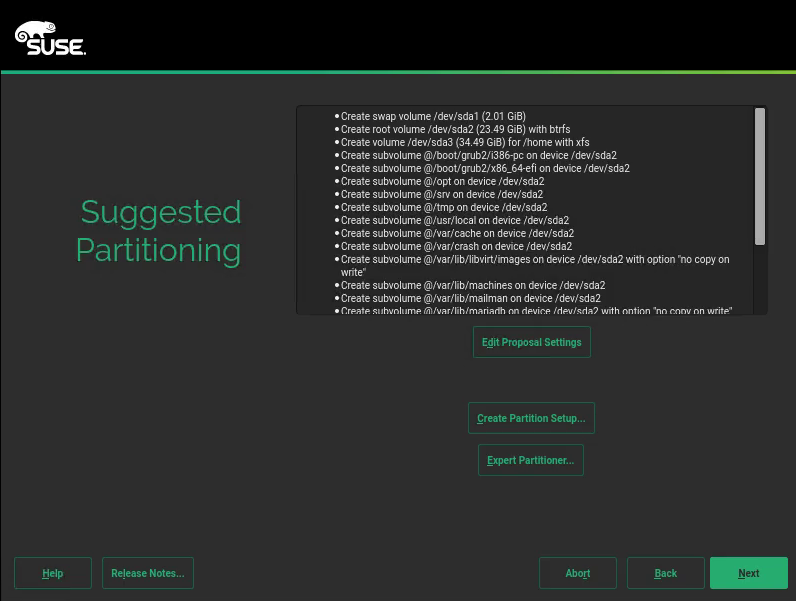
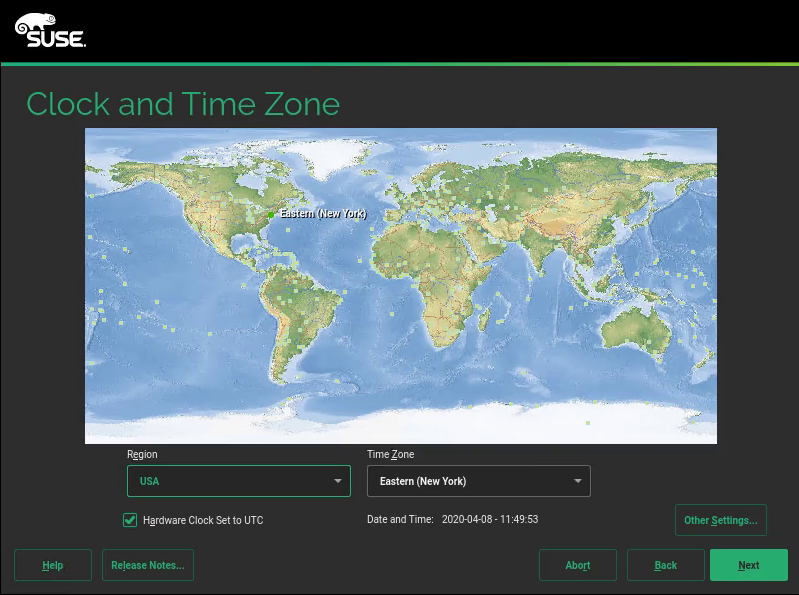
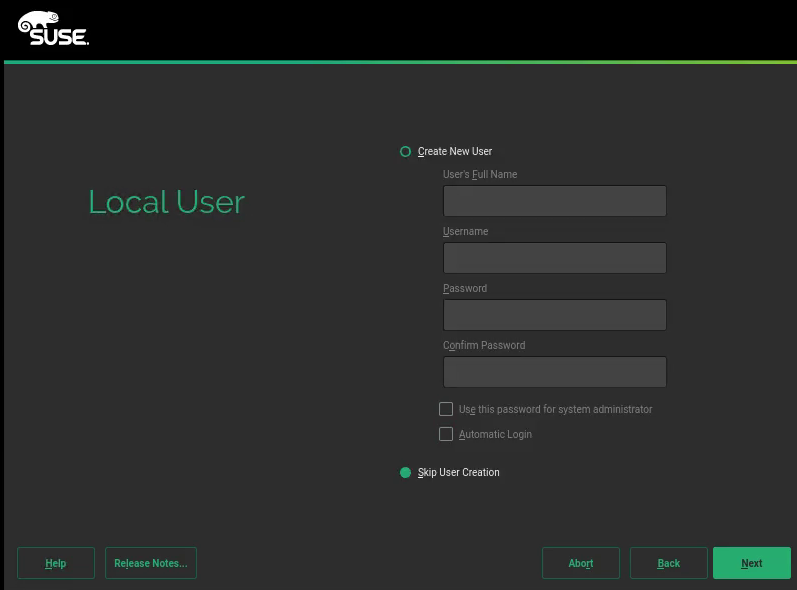
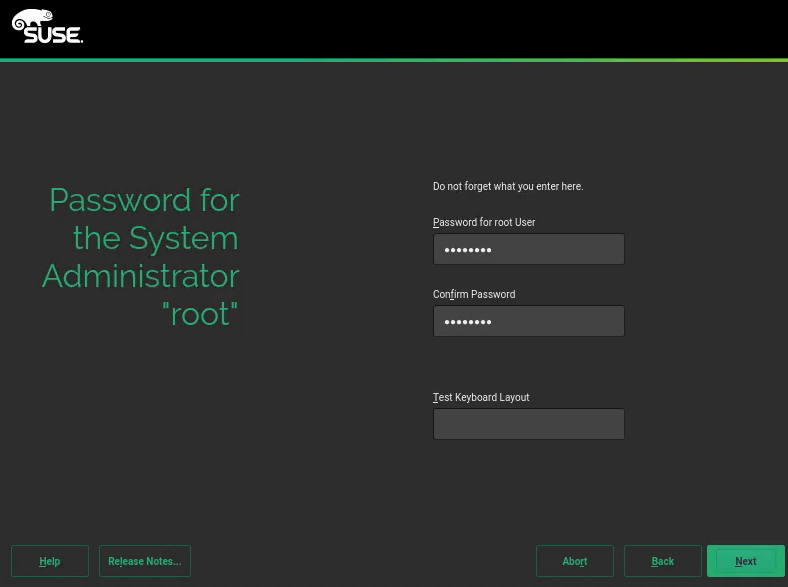
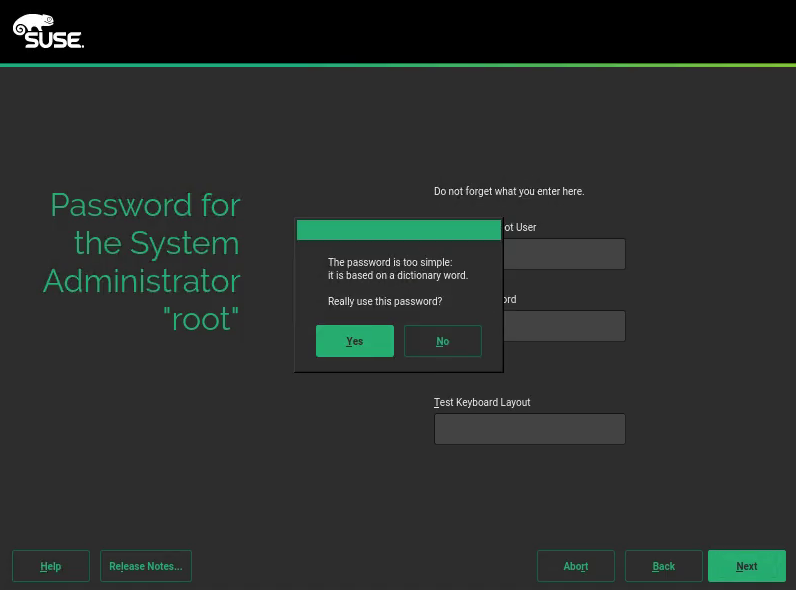
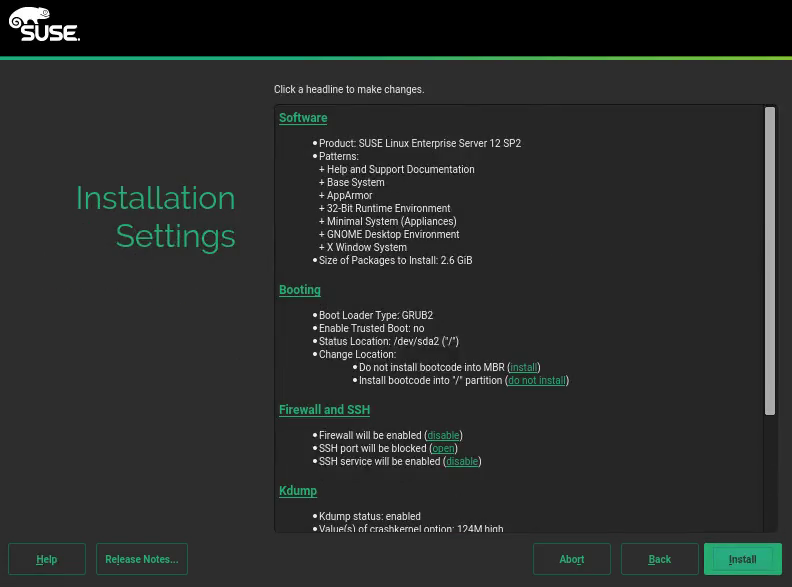
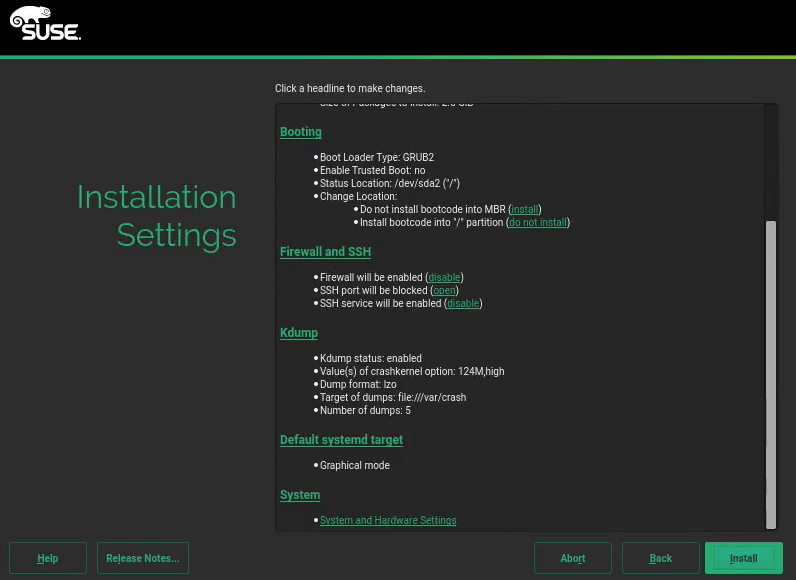
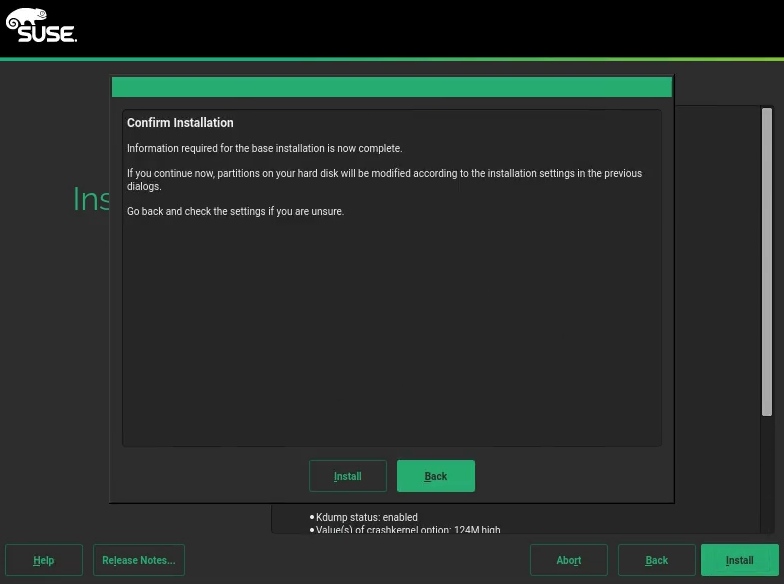
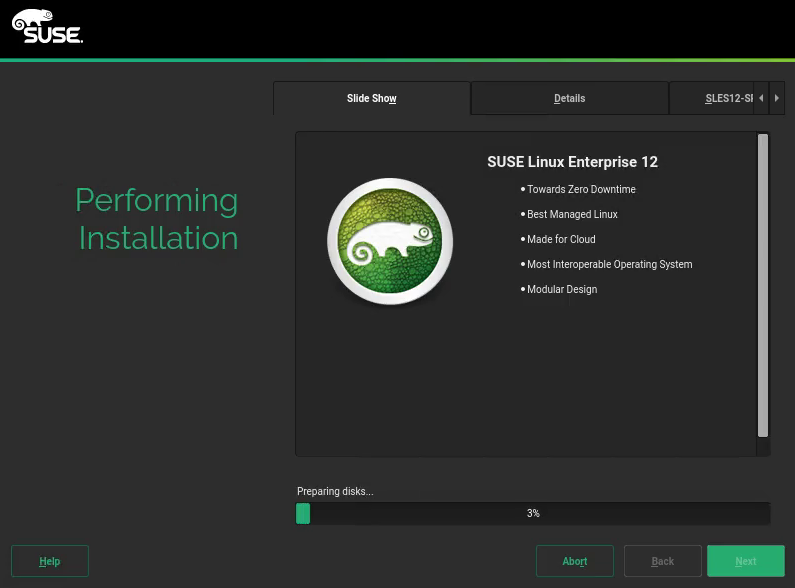
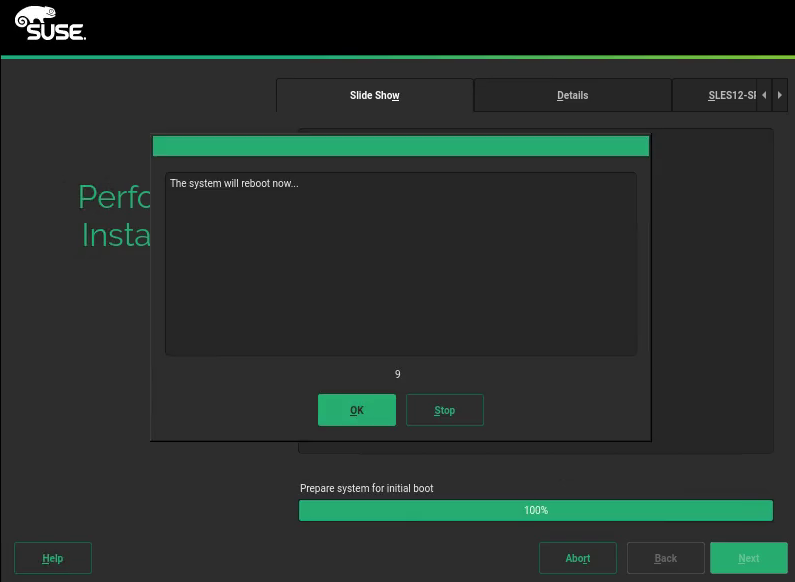
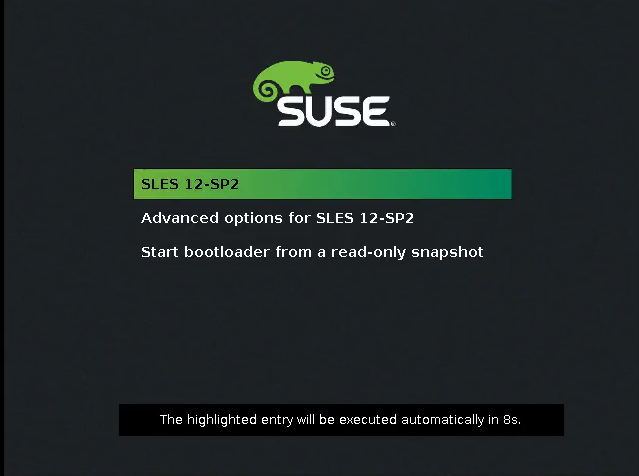
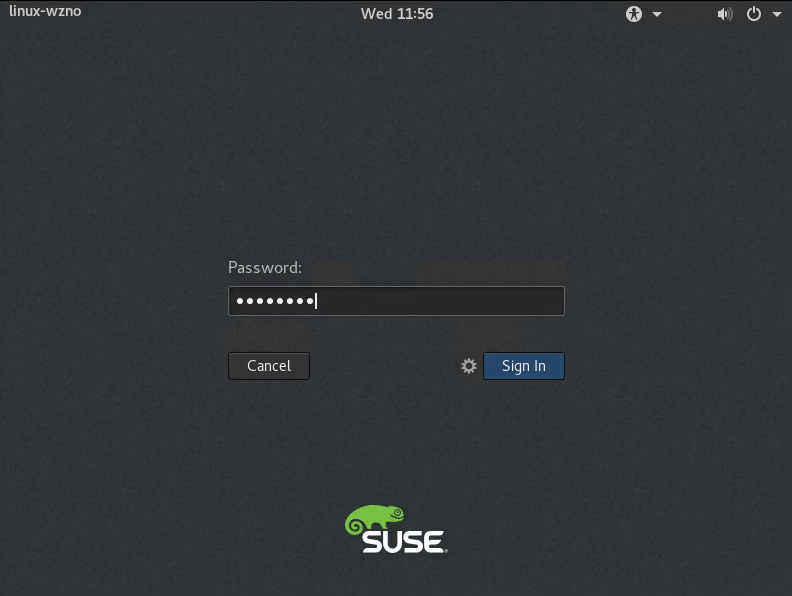
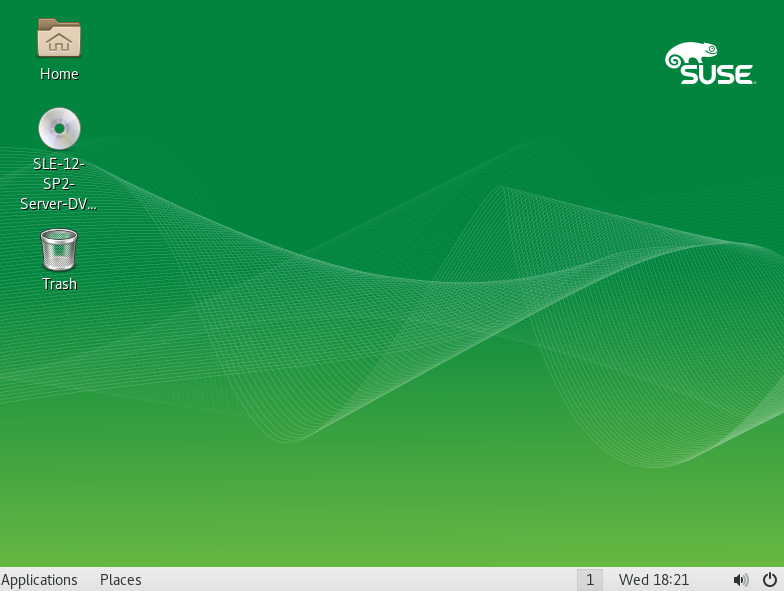
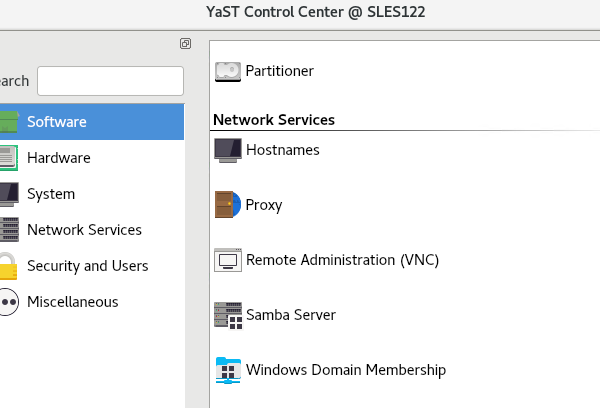
SLES Deployment Part II : SLES-V12-SP2 Installation Suse April 8, 2020October 27, 2020 maher islaieh SLES Setup Network diagram For Better View > Open Image in different TAB in this Article , we will see installation process on versionSLES Version 12 with Service Pack 2and How Desktop [GNOME] will look like and in next article we will discuss how to install SLES V15 -SP1 with Text Mode [ Shell ] , and will see the difference between both SLES Version 12 SP2 installation the default installation of SLES version 12 with ALL service pack : come withX11 : as Xserver (the graphic “driver”) GNOME as [desktop environment ]GDM as [Display manager] currently don’t Confuse your self of above concept , since it will be fully discussed later in separate article lets to go to installation process insert SLES V12 DVD in server and start select installation Kernel start loading packages uploaded SLES V12 SP2 installation process starting YAST : the most known ever in Linux world , Stand for [ Yet another Setup Tool] ,> will be fully discussed later YAST initialized accept agreement network configuration , keep as default system probing skip registration > accept warning > don't wory , we will register SLES later don't install any package or repository select default installation HDD partitioning > currently we HDD with 60GB > will be formatted as default > we will have many articles about storage keep time zone as default [USA] > later we will configure time with domain controller DC101.pioneers.lab skip creating user account > SLES will create administrator account with FULL privileges called [ root] set password for root account i made it simple > just accept warning review carefully before install review carefully before install just to review installation settings in two images above : installing SLES 12 – SP2 X11 windows system GNOME as Desktop environmentBoot loader : GRUB : to be discussed later firewall installed and enabledgraphic mode as default > NOT like SLES 15 which make Text mode of default select install installation get started after short time > process about finish accept Start SLES after SLES – V12 SP2 installation , it’s time to start server select SLES 12 Sp2 booting For Better View > Open Image in different TAB enter user name > root enter password the default GNOME desktop > Congrats 🙂 Conclusion installation Suse Linux Enterprise Server come by default with :X11 : as Xserver (the graphic “driver”) GNOME as [desktop environment ]GDM as [Display manager] which provide us with good facility to configure and manage SLES if we are beginner to linux administrationnext article we will focus on working with SLES v15 with service pack 1 : installation with Text mode [ shell ] install Graphic driver with Desktop manager as well as Desktop environment we will ONLY pack to SLES V12-SP2 just for upgrade article thank you for joining us