first two article of SCOM agent series was an overview about SCOM agent and Assignment
this articles of SCOM agent series : wew ill see how to install SCOM agent
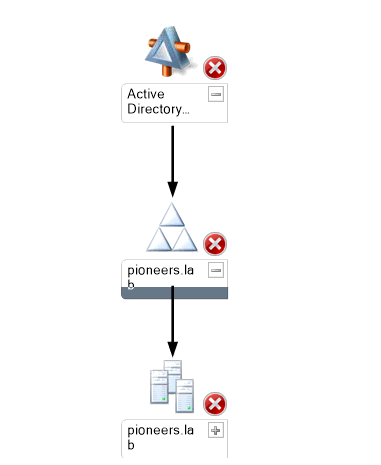
Network Diagram
For Better View > Open Image in different TAB
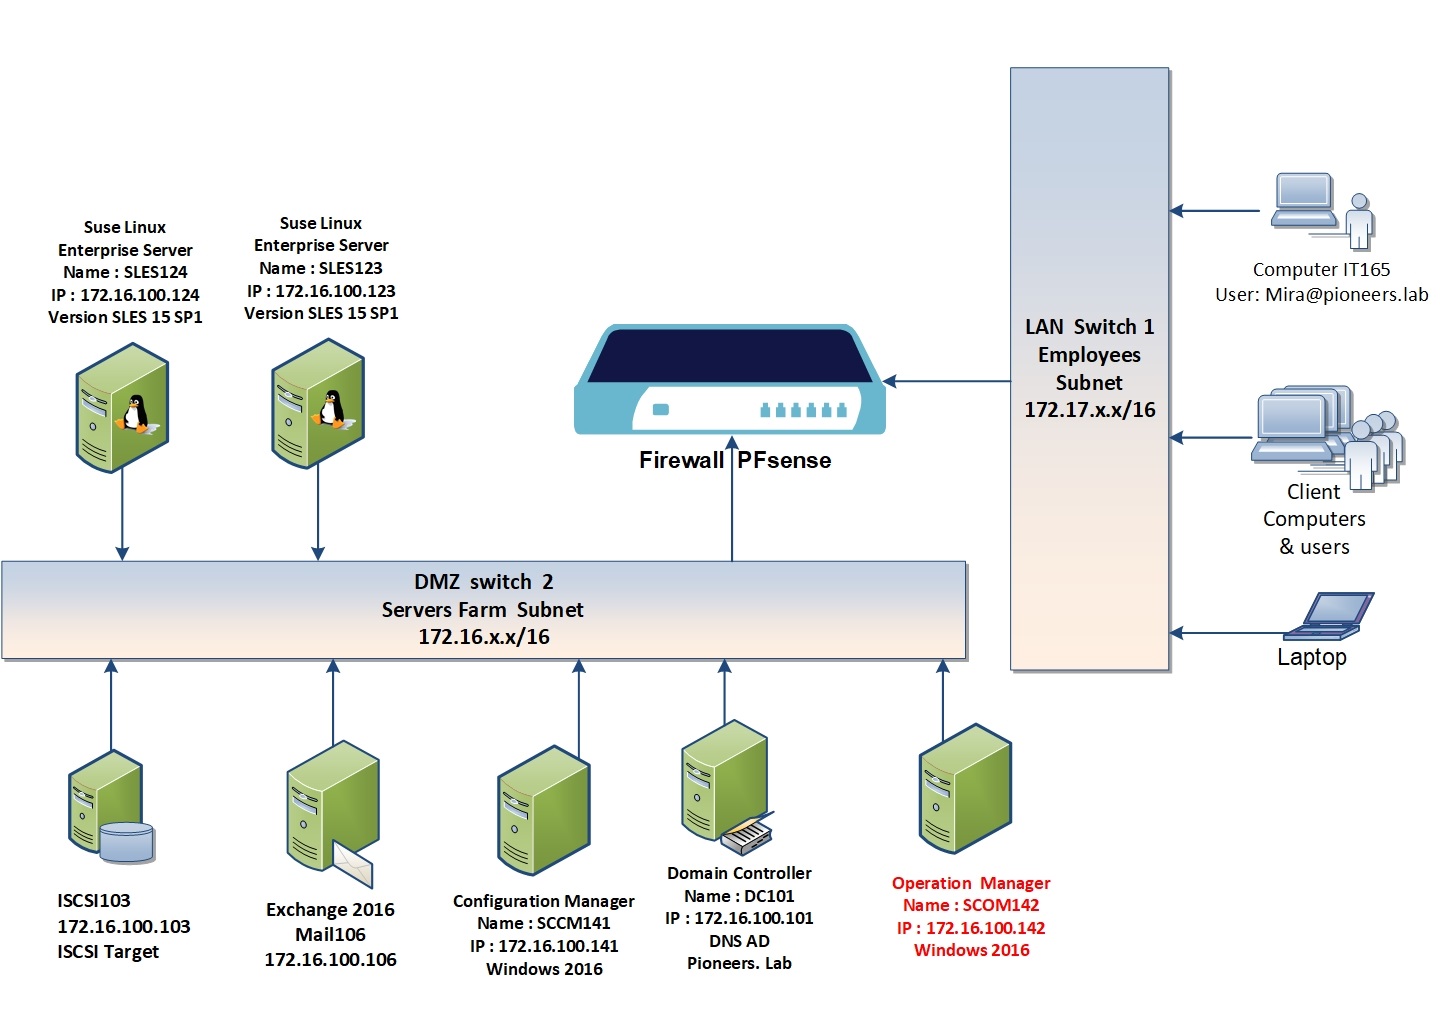
please have a look to pioneers.lab network diagram above :
we have SCOM server called SCOM142 with IP address 172.16.100.142
regarding SCOM client we have :
Windows agent [Server OS ] like :
DC101 as domain controller with IP address 172.16.100.101
SCCM141 as SCCM server with IP address 172.16.100.141
Mail105 as Exchange server with IP address 172.16.100.105
ISCSI103 as Storage server with IP address 172.16.100.103
Windows agent [windows OS ] like :
IT165 in LAN subnet as PC for IT staff with IP address 172.17.100.165
deploy SCOM windows agent
You can push or install SCOM agent using operations manager console. This is probably the easiest and simplest method of installing SCOM agents on windows based computers.
All you need to follow is the discovery wizard and complete the agent installation. Let’s take a look at steps to do this.
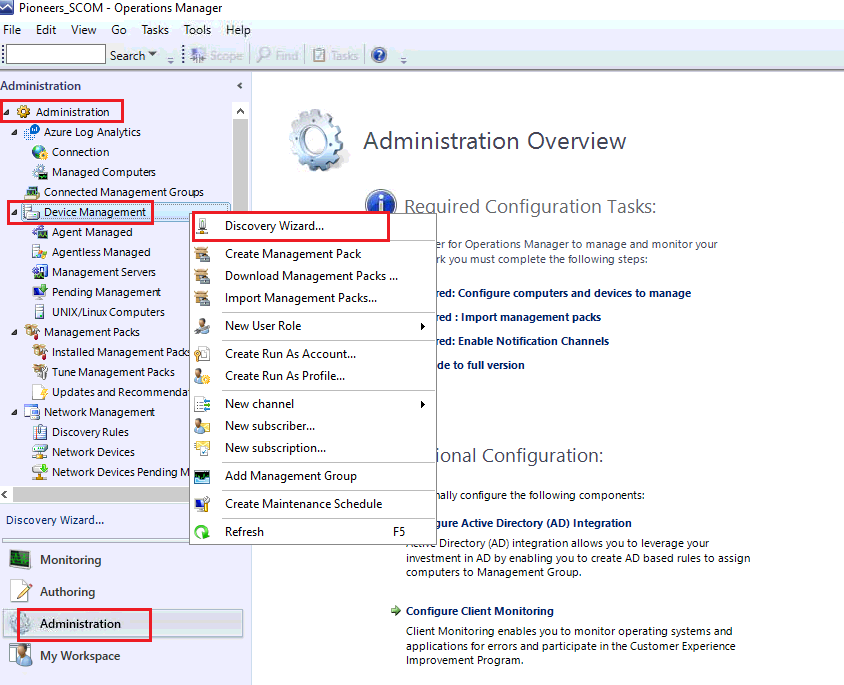
Launch the Operations Manager console
Click on Administration
Click Discovery Wizard.
select discovery wizard
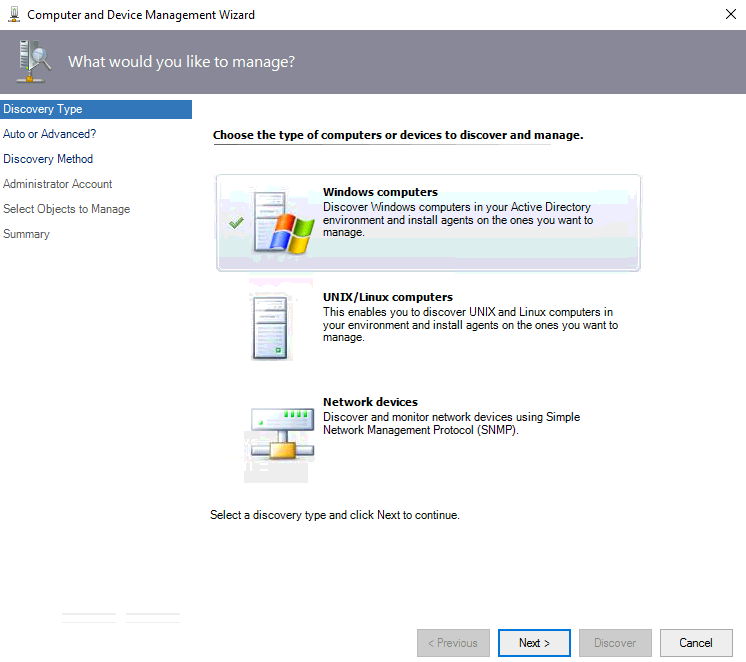
On the Discovery Type page, click on Windows computers, click Next.
In next step you have to select Automatic computer discovery or Advanced discovery. Let’s understand the difference between these discovery methods.
Automatic computer discovery scans for Windows-based computers in the domain. However this option might take long time to discover computers in a big organization.
Advanced Discovery scans for windows based computers with advanced discovery options. You can select computer and device classes. You also get an option to enable “Verify discovered computers can be contacted“.
select advanced discovery
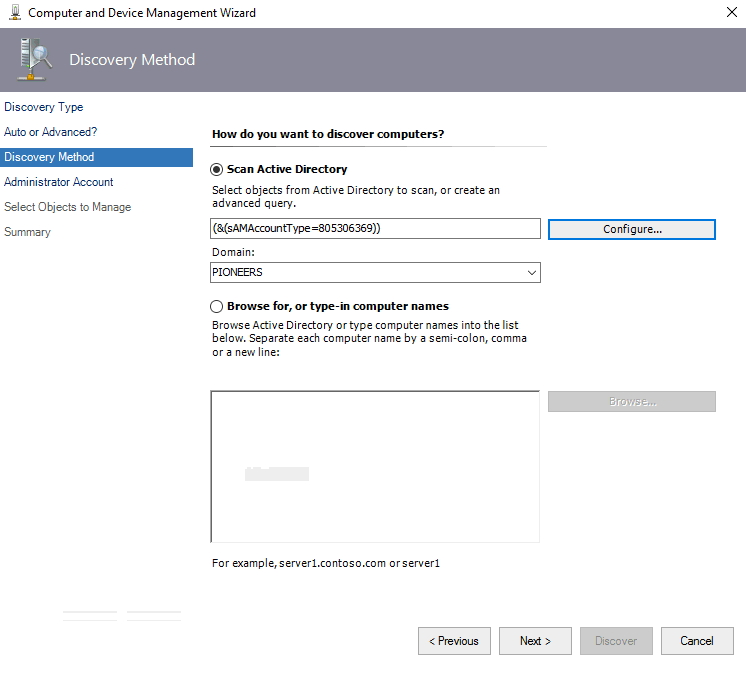
On the Discovery Method page, you can locate the computers that you want to manage by either scanning or browsing Active Directory Domain Services or typing the computer names. We have two options here, Scan Active Directory and Browse computer names.
Selecting Scan Active Directory will scan the computer objects based on the query that you provide.
The second option Browse for computer names will scan the list of computer names that you provide.
select scan AD
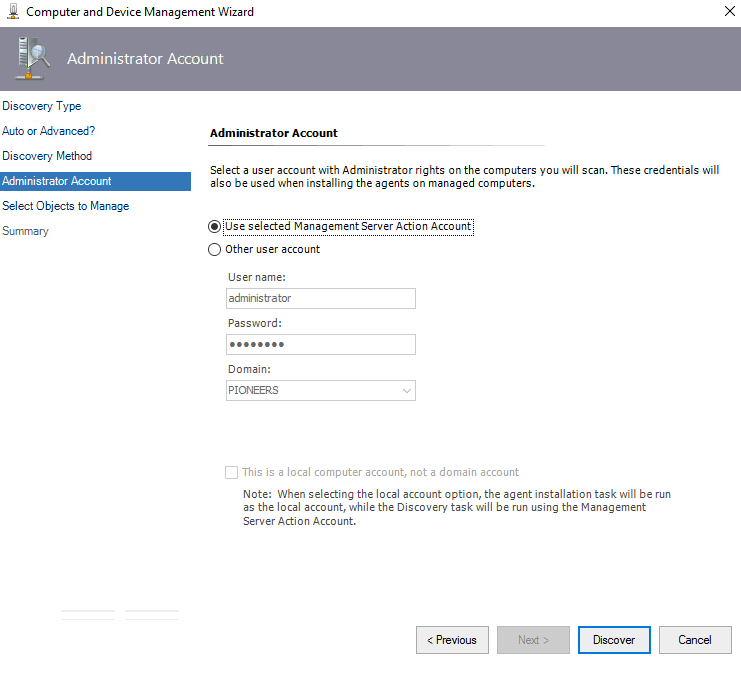
select managed action account
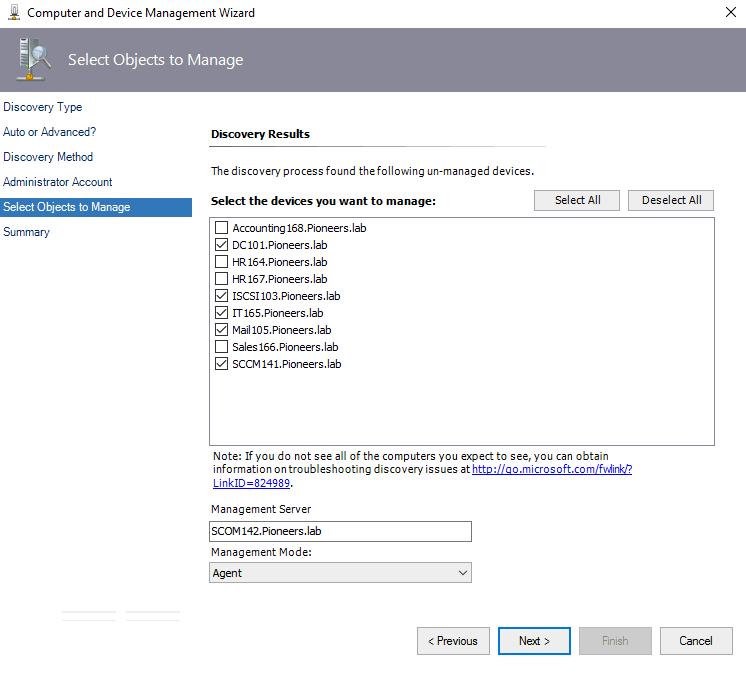
select client computer that will be installed SCOM agent
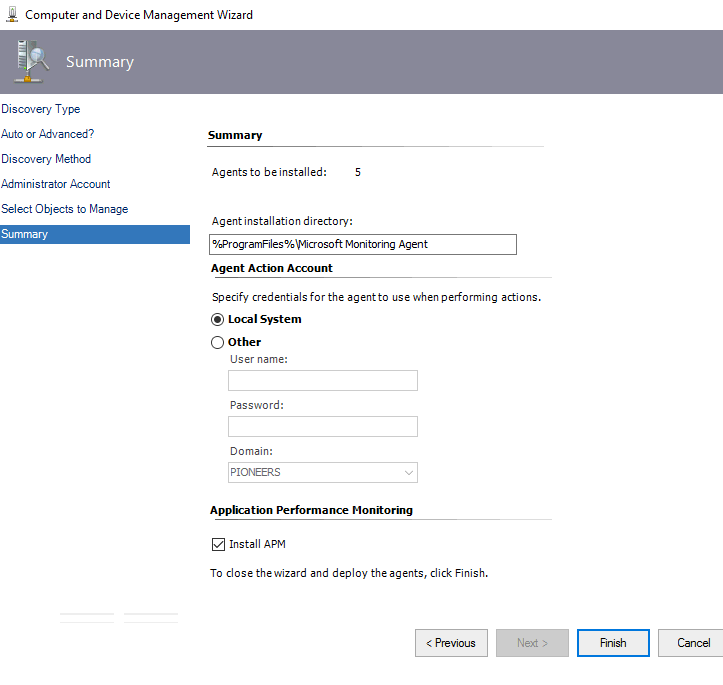
path where SCOM agent will be installed on client computer
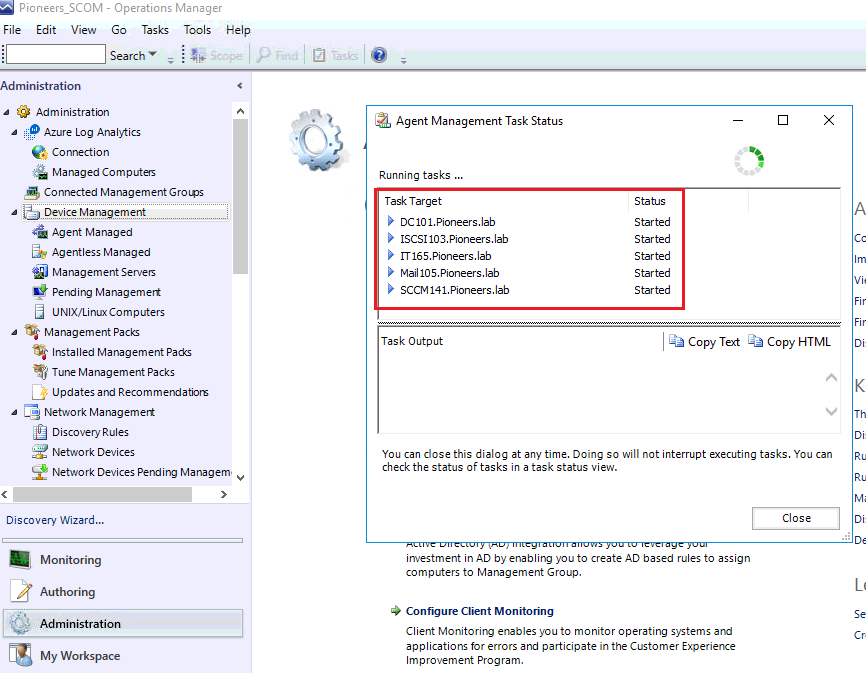
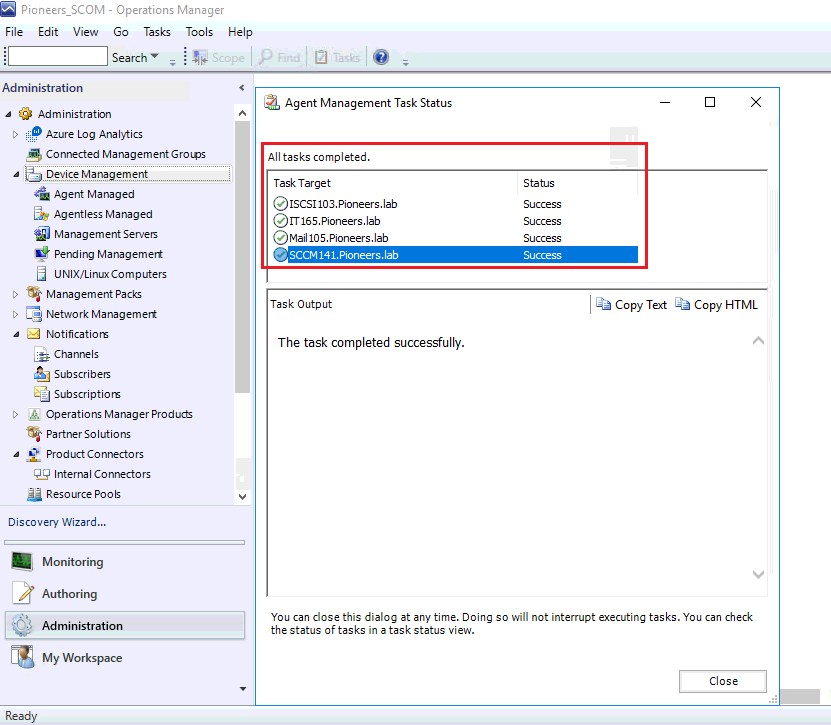
pushing SCOM agent to client computer take progress
installation DONE 🙂
SCOM is slow motion solution >> waite afew minutes until SCOM server get full details from client
verify deploy SCOM windows agent
we can verify SCOM agent deployment from SCOM server side or from client side
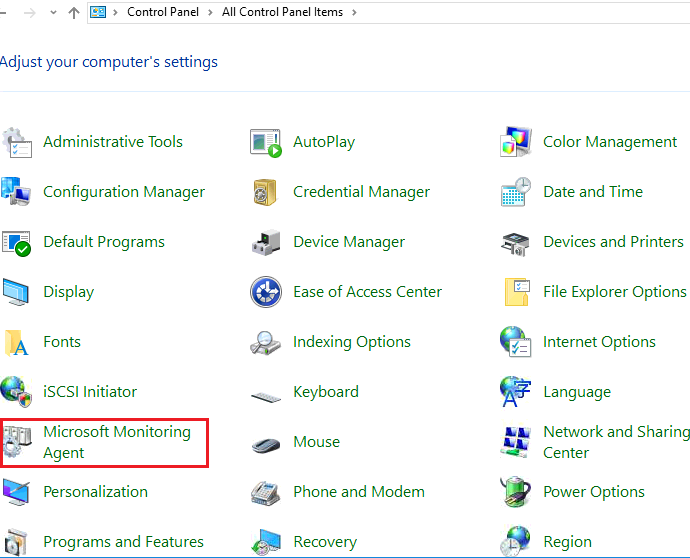
on client side > open control panel > new icon microsoft monitoring agent
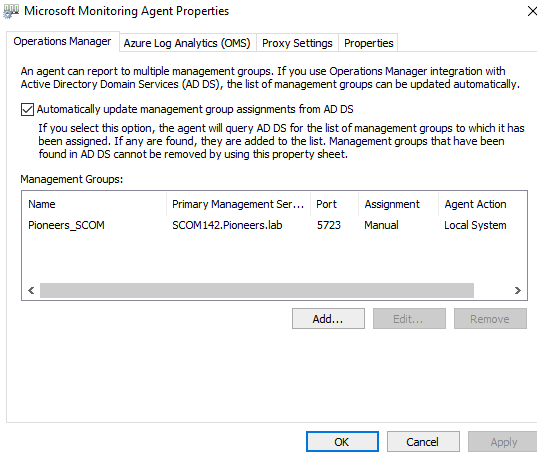
n client side >>check SCOM SCOM server
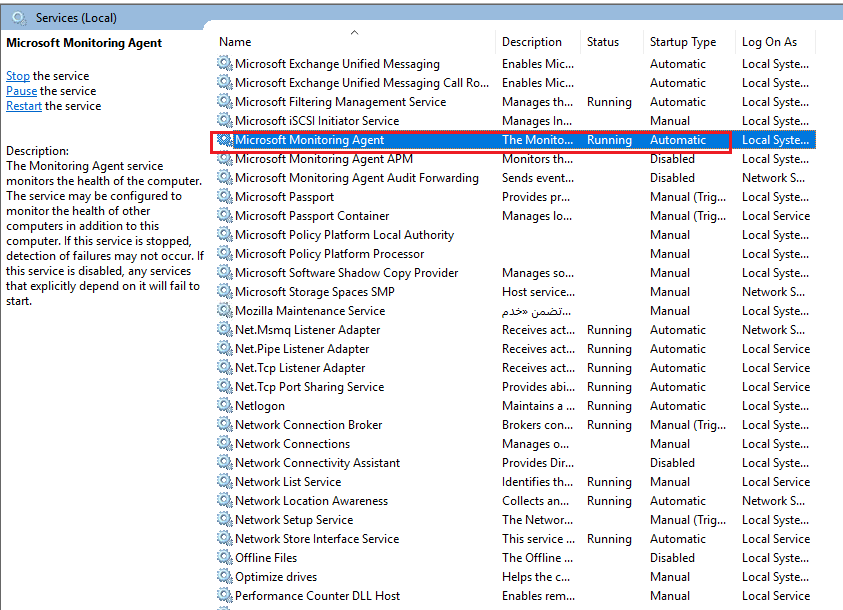
also on client side check service is running
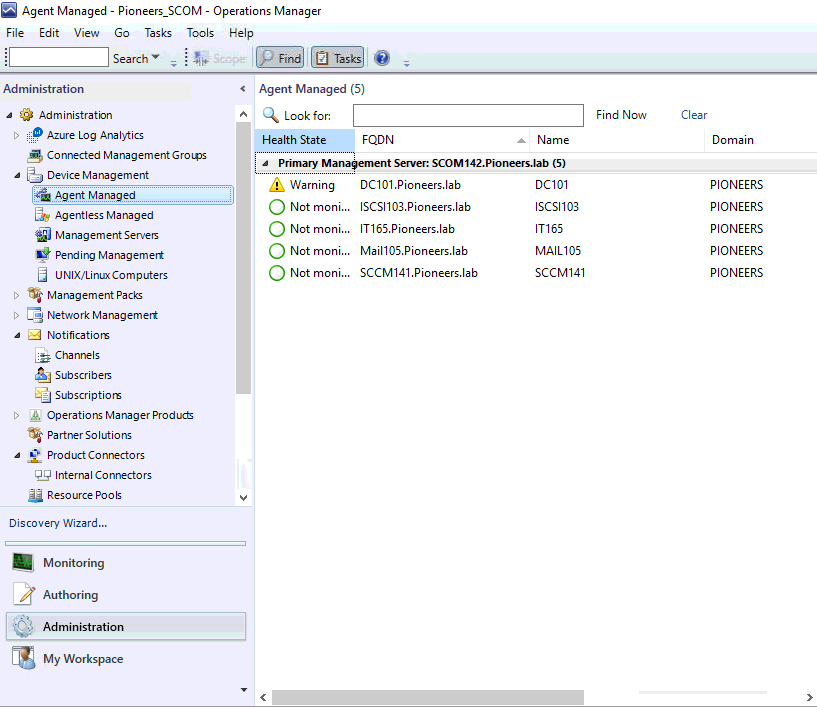
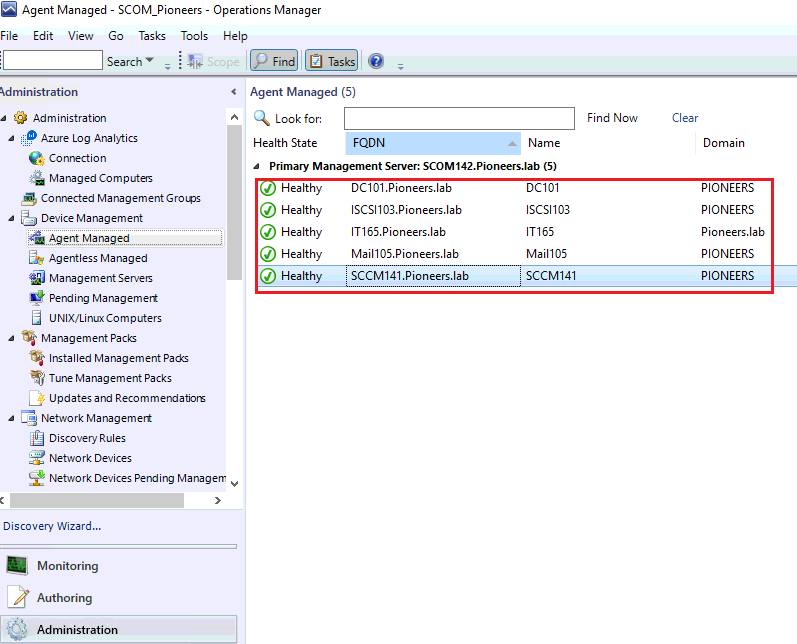
on server side >> monitoring > device management > agent managed
conclusion
install SCOM agent using operations manager console is probably the easiest and simplest method of installing SCOM agents on windows based computers.