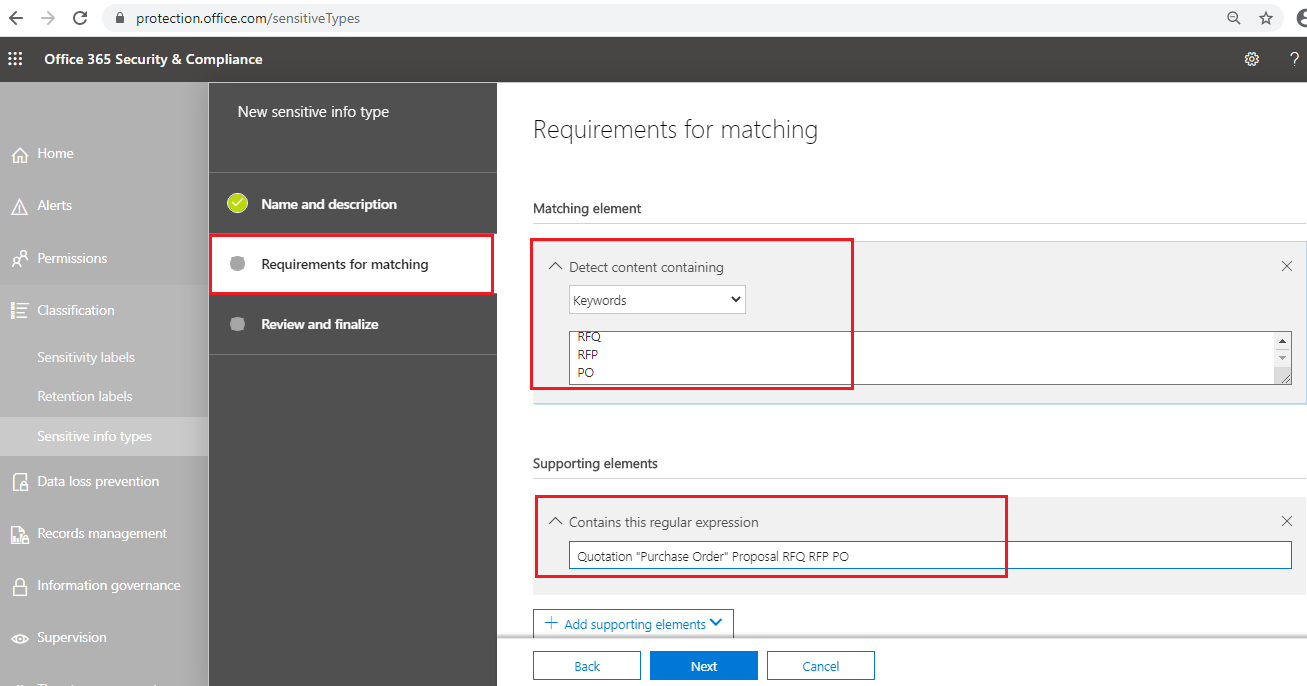
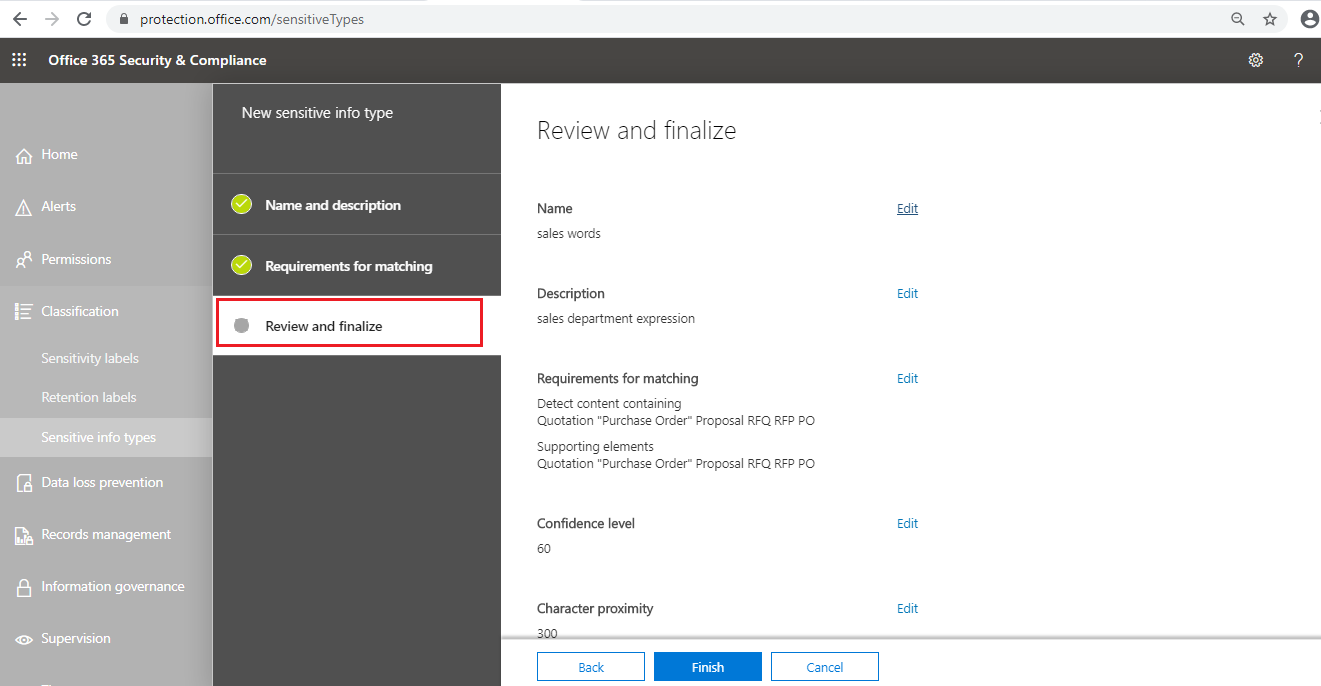
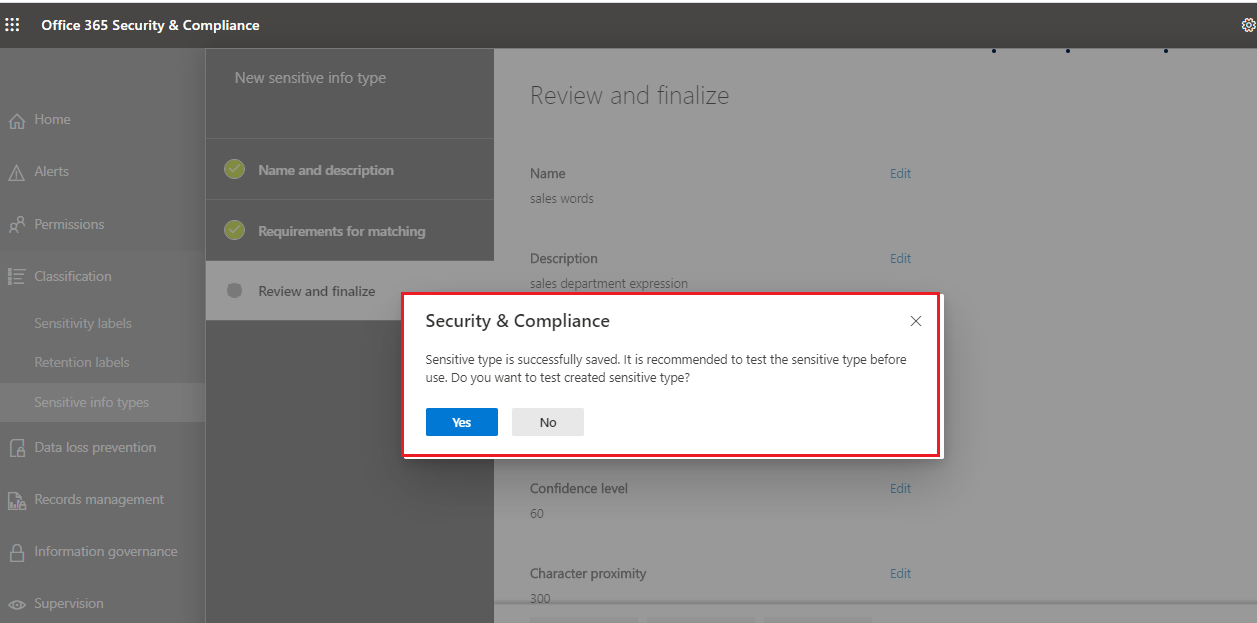
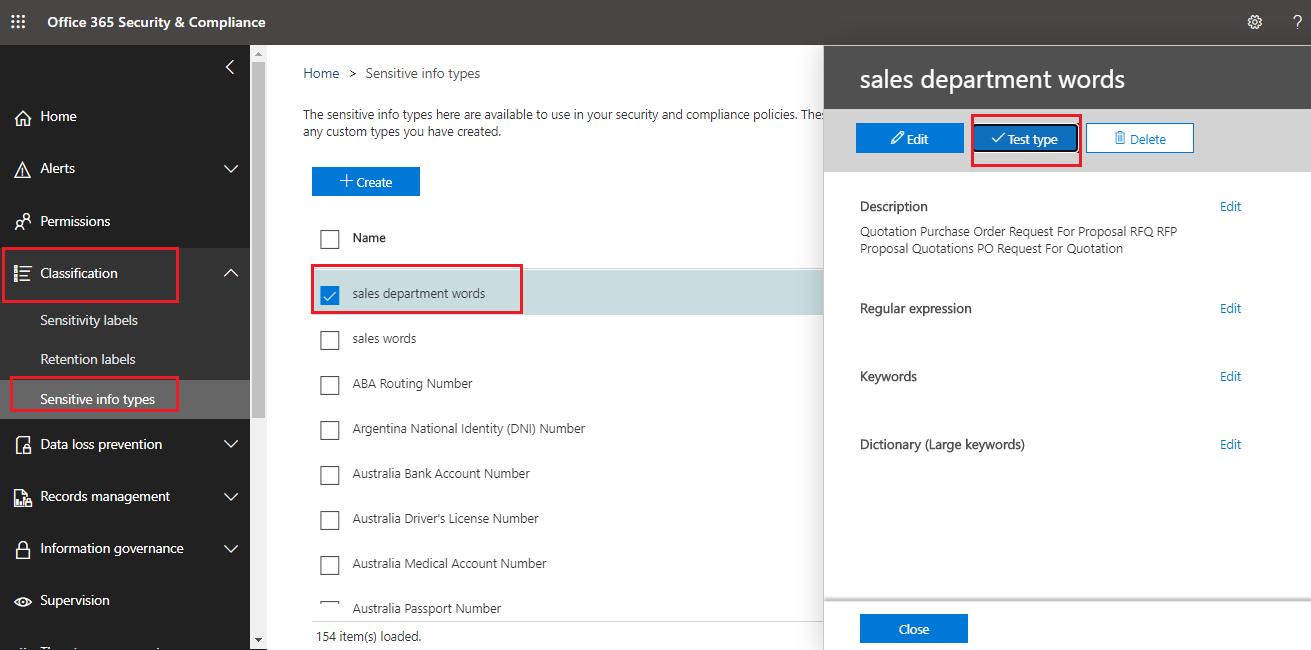
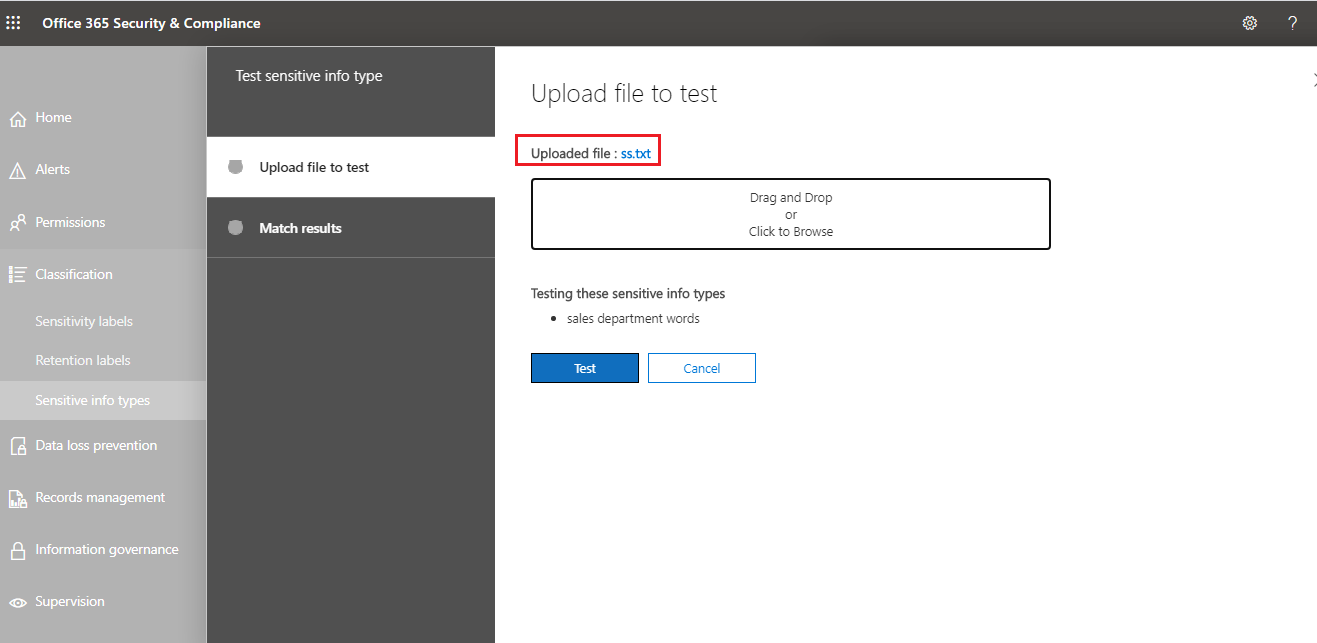
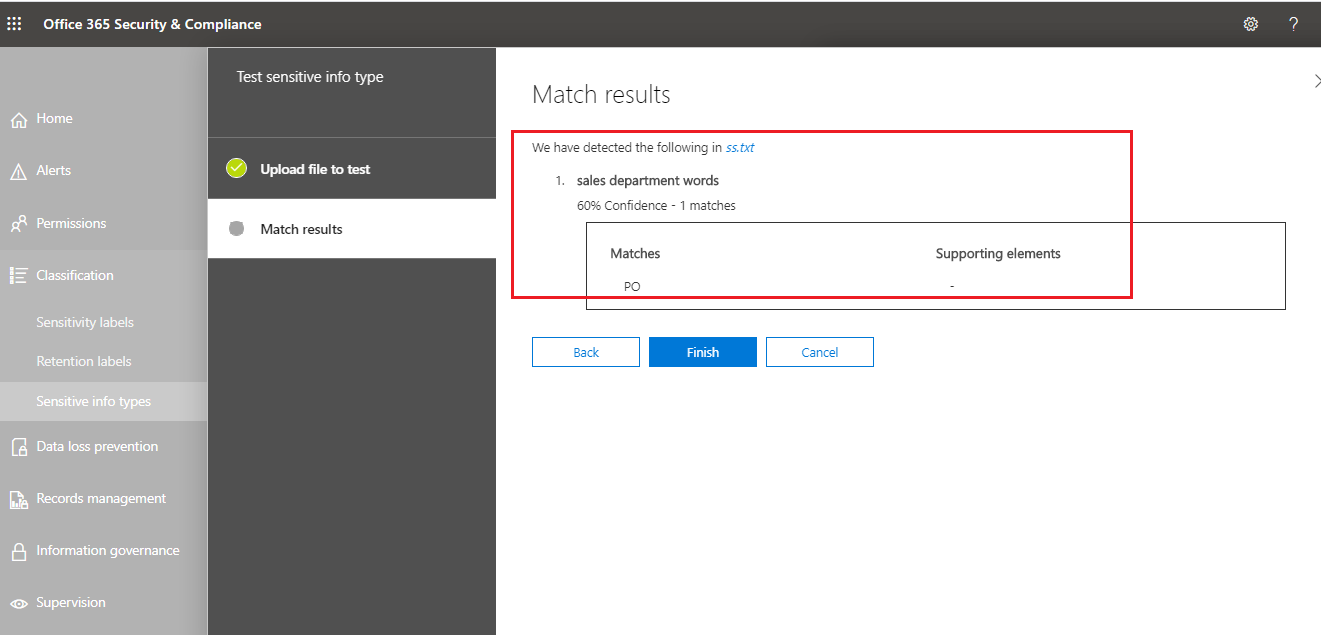
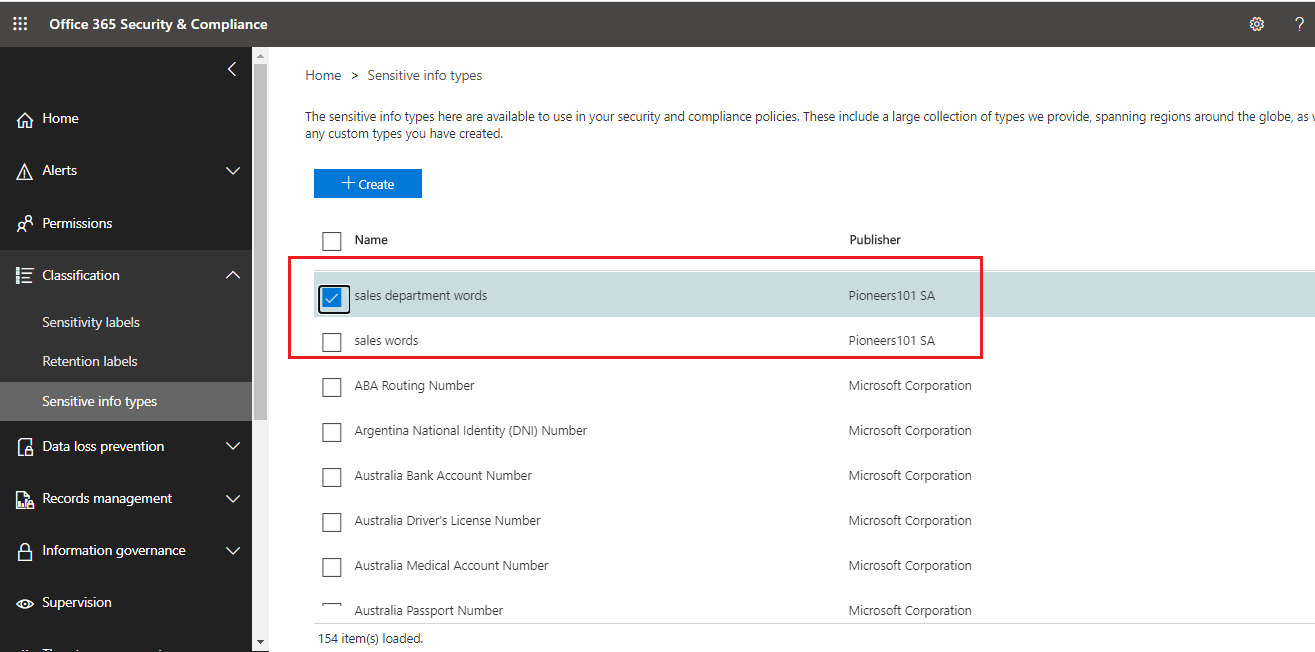
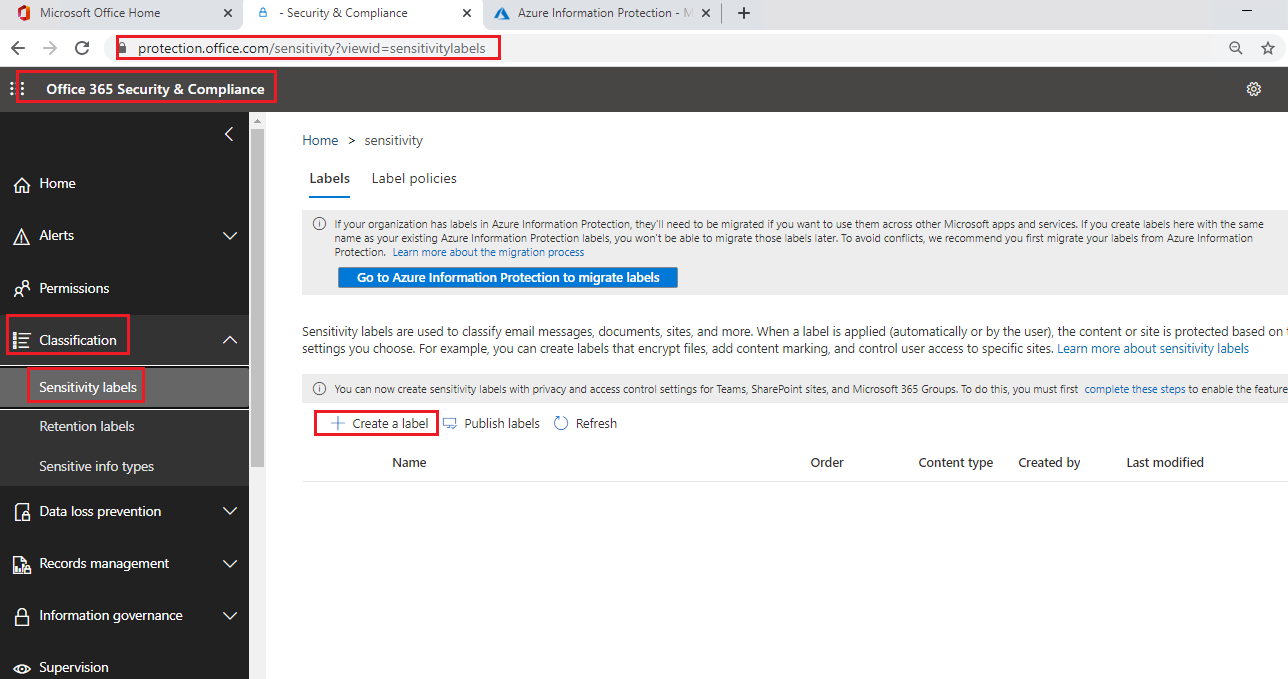
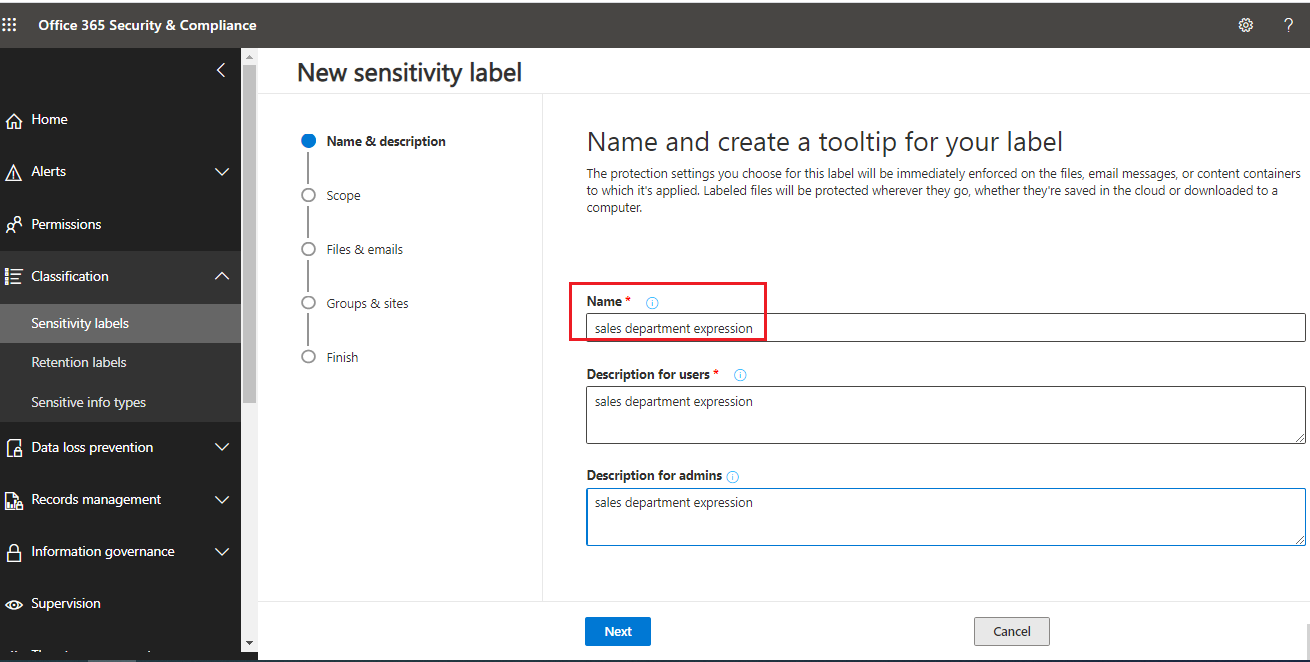
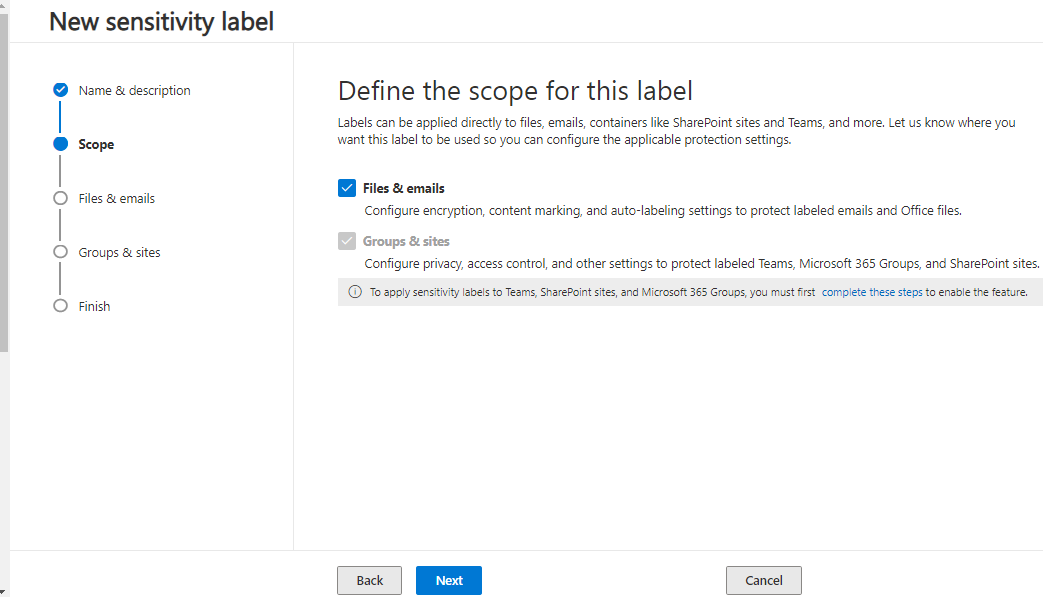
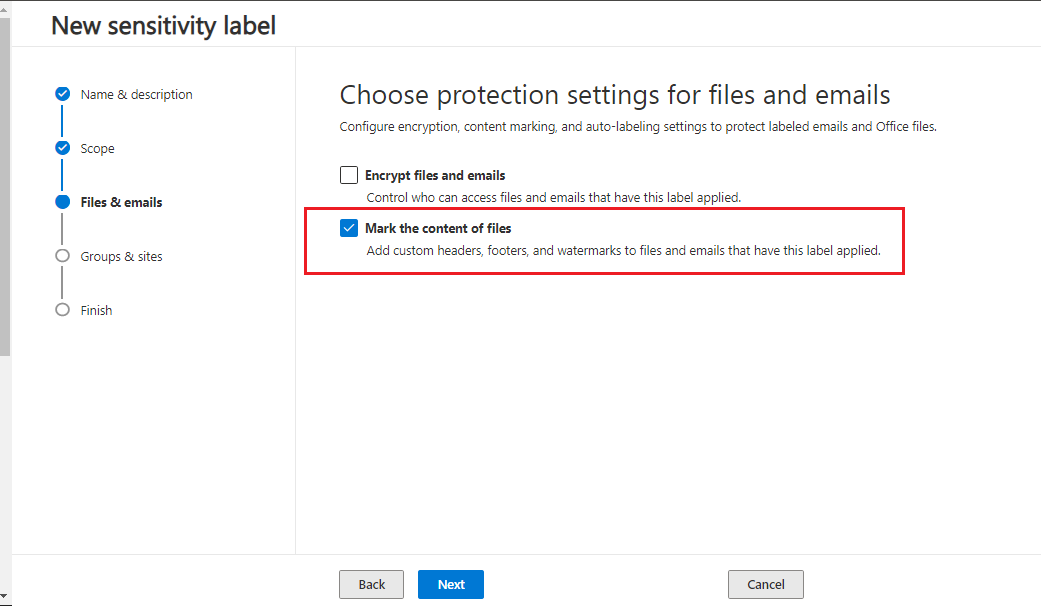
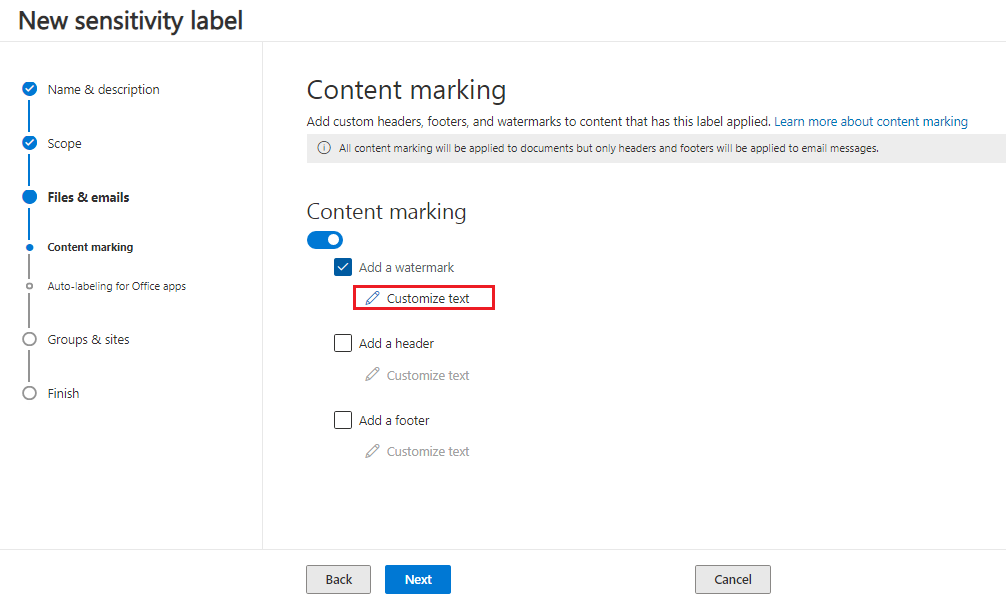
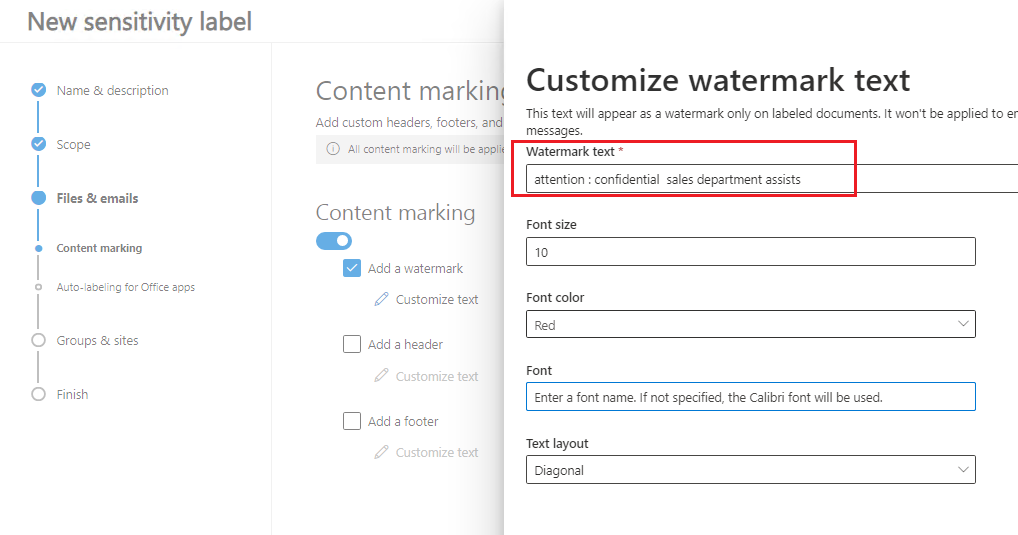
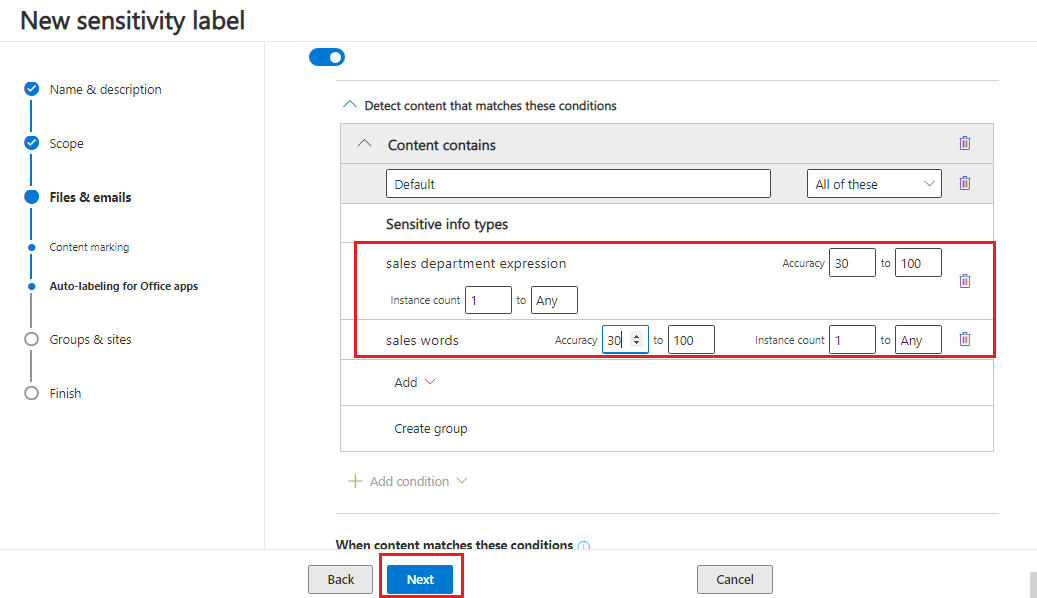
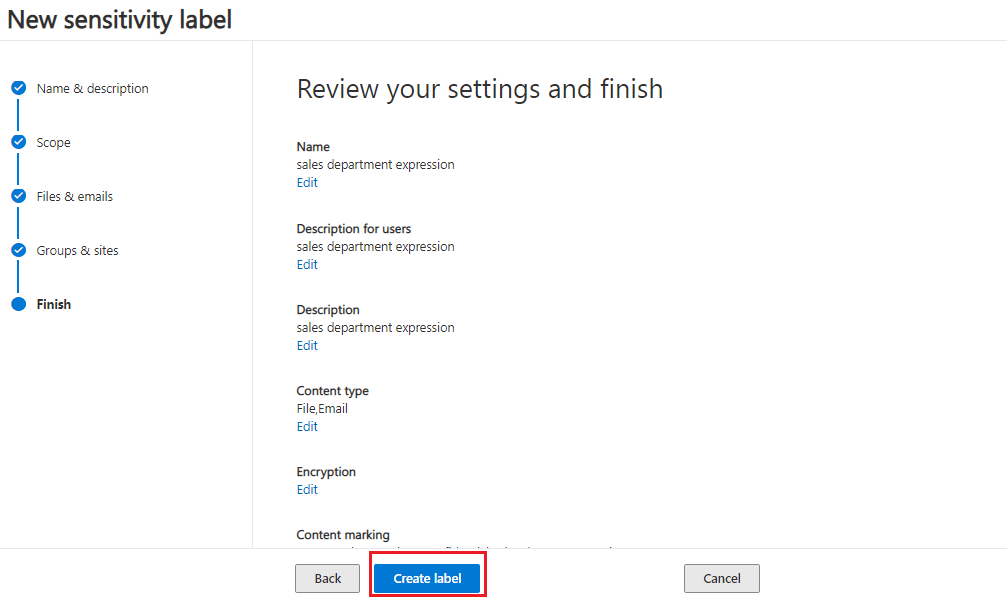
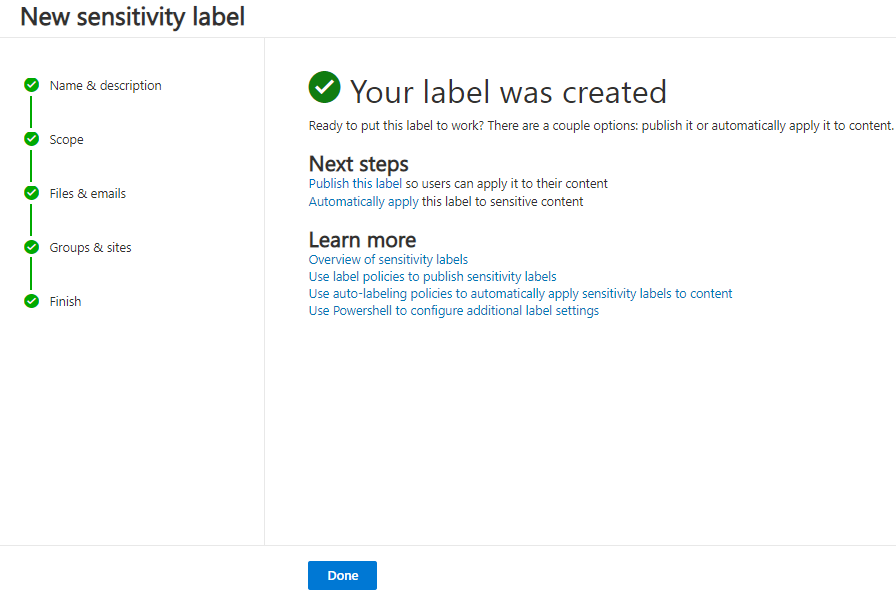
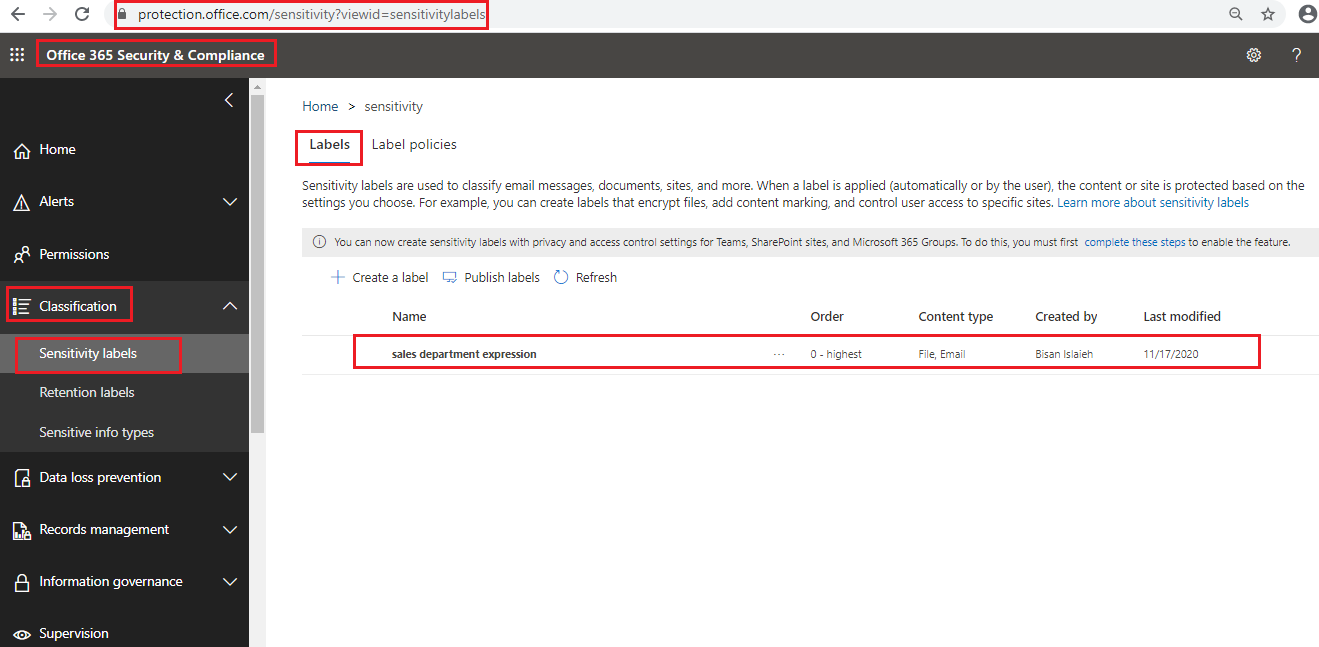
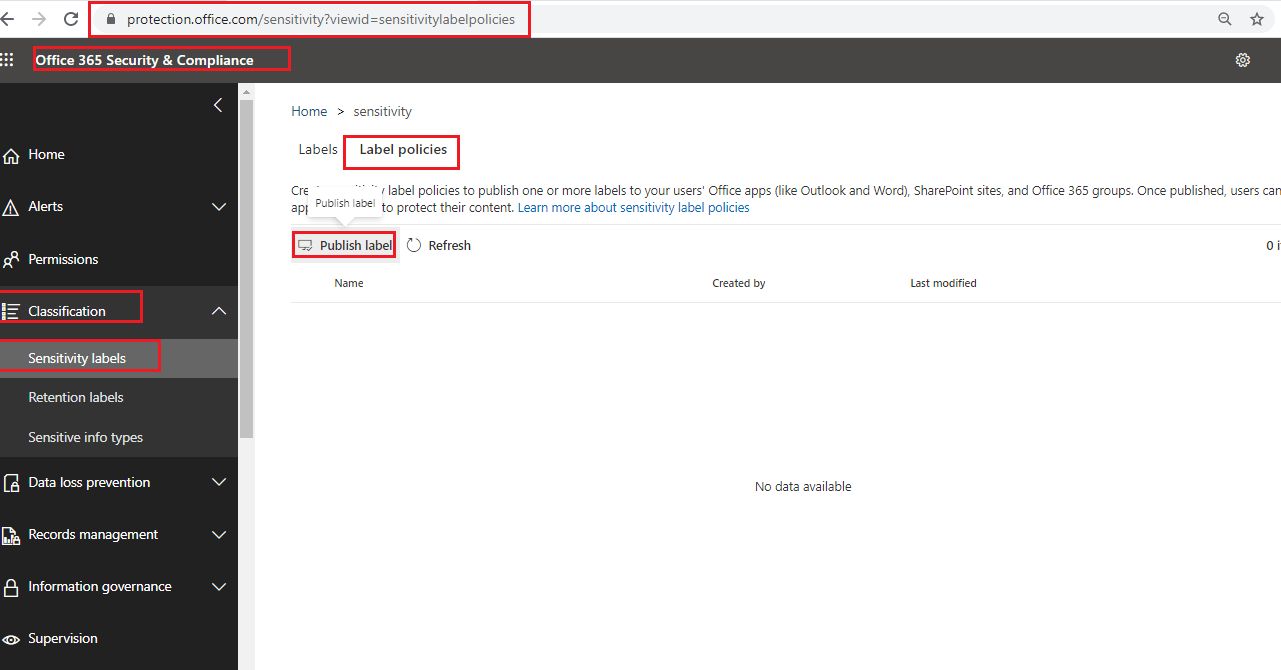
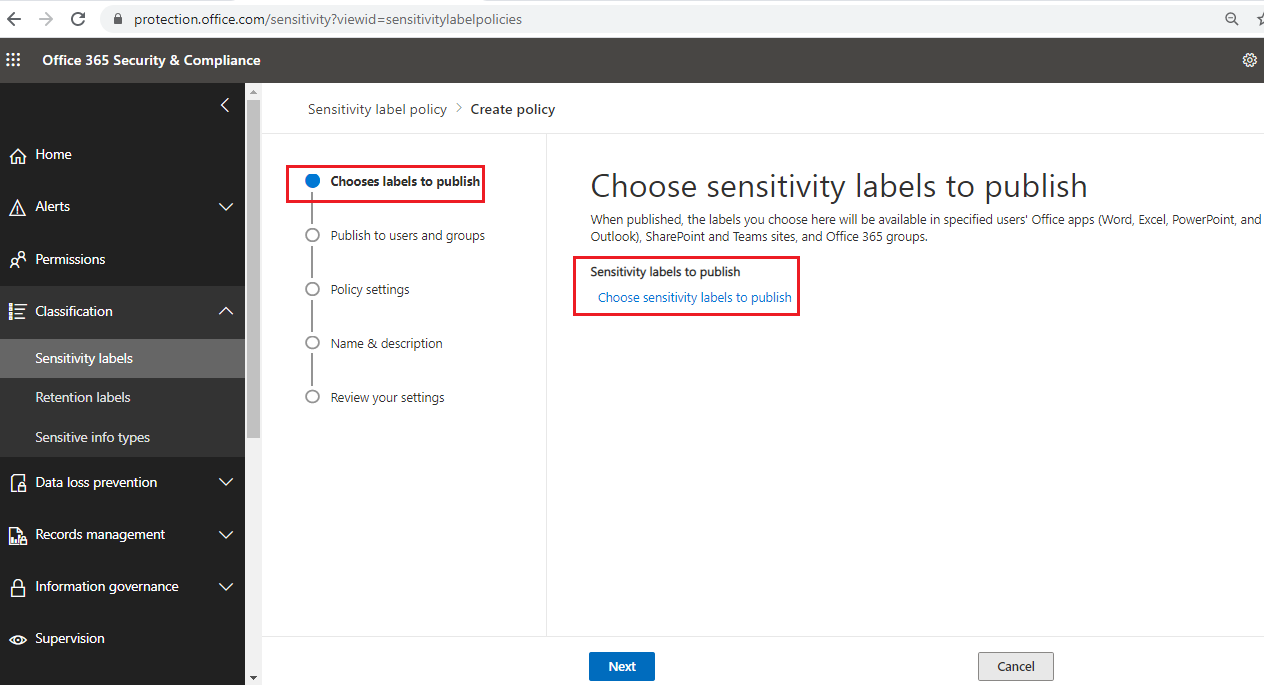
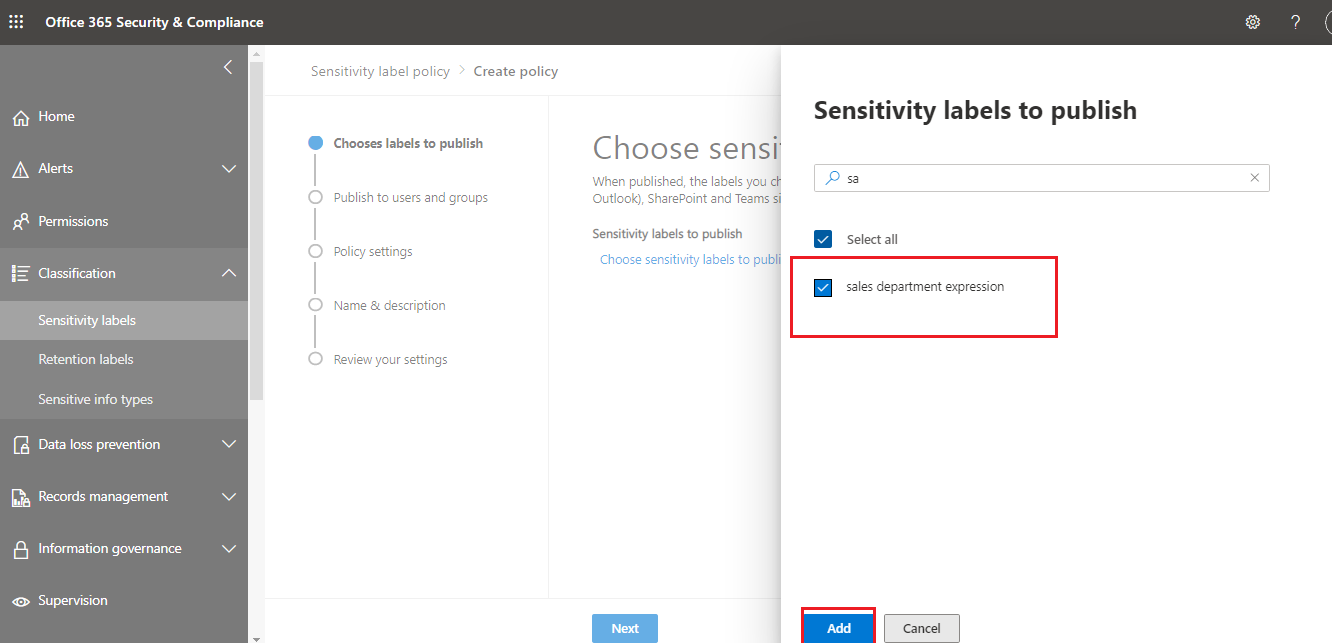
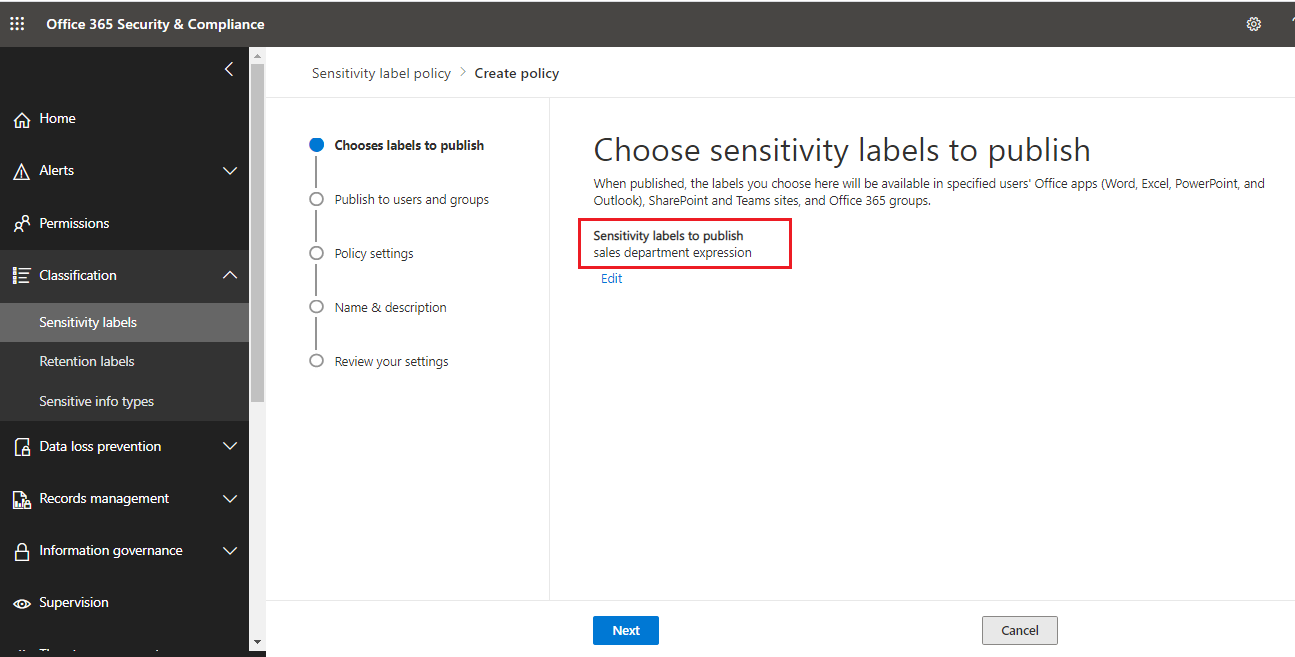
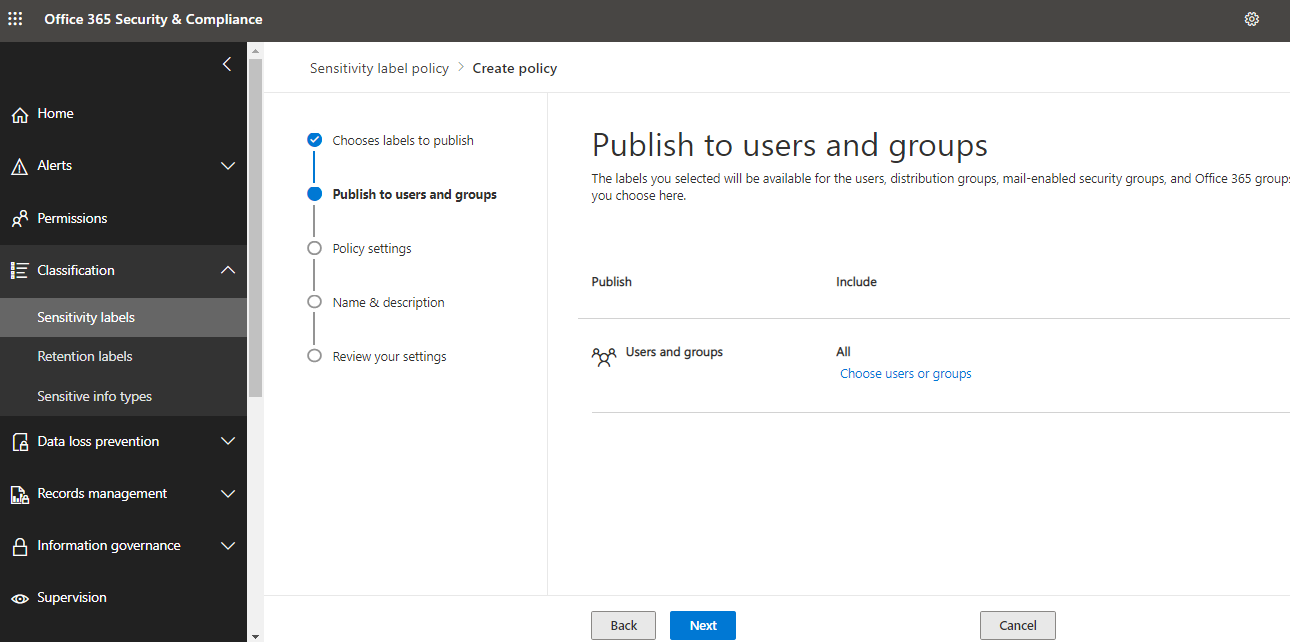
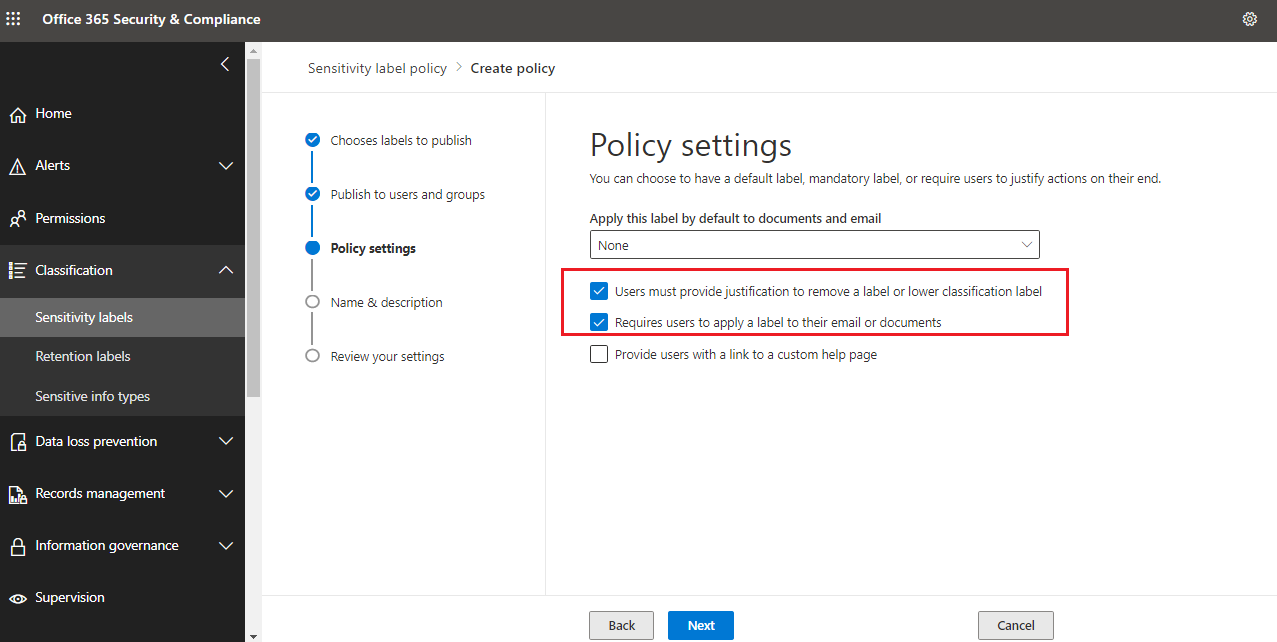
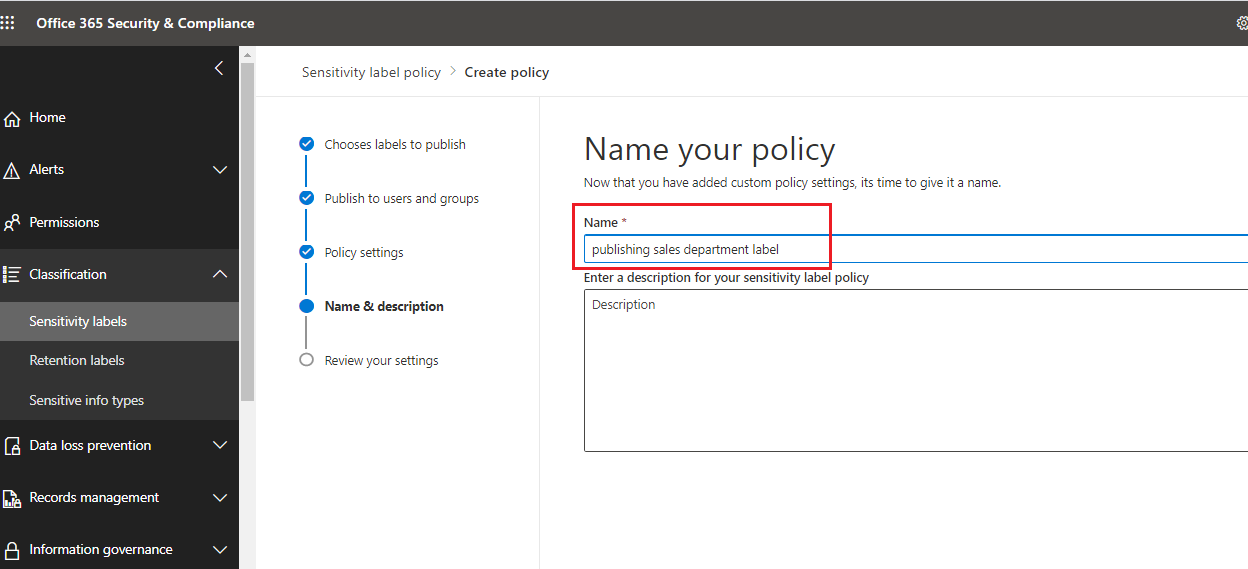
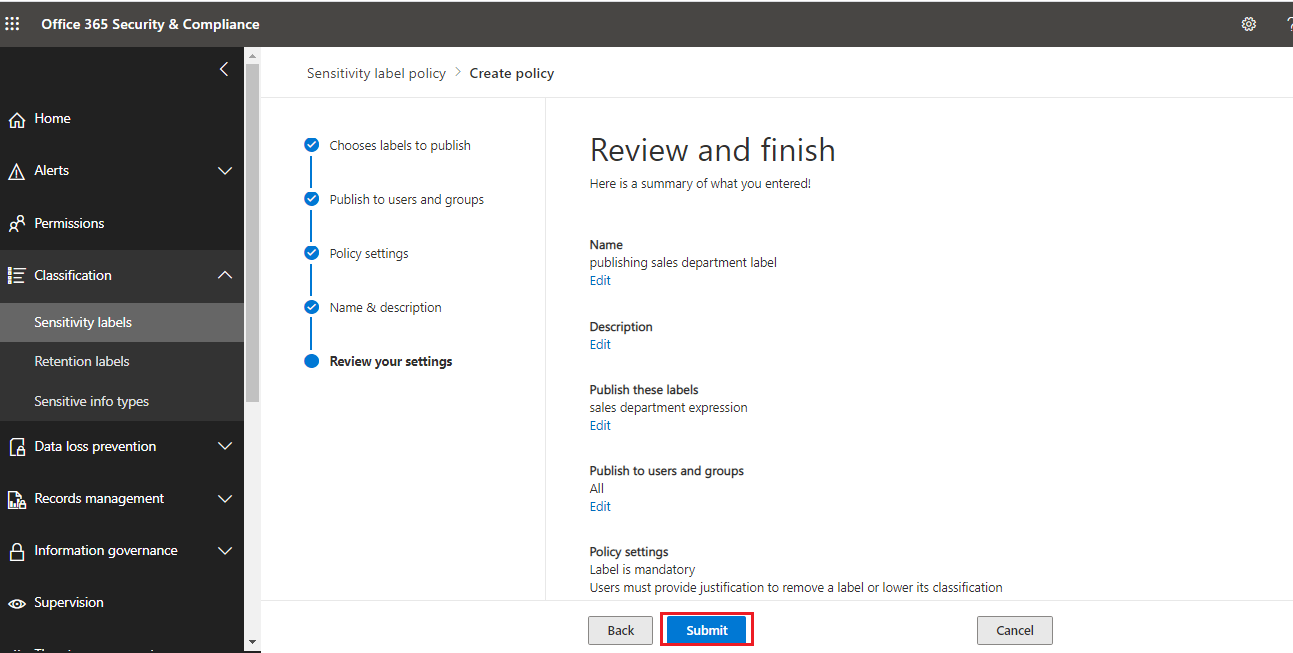
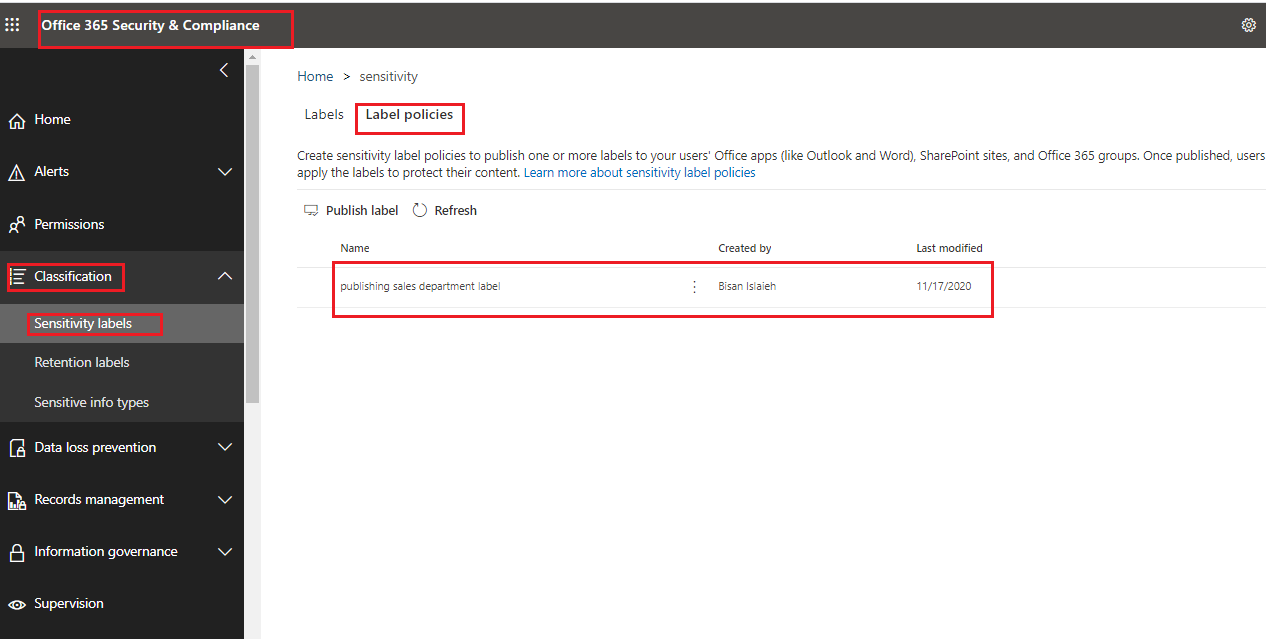
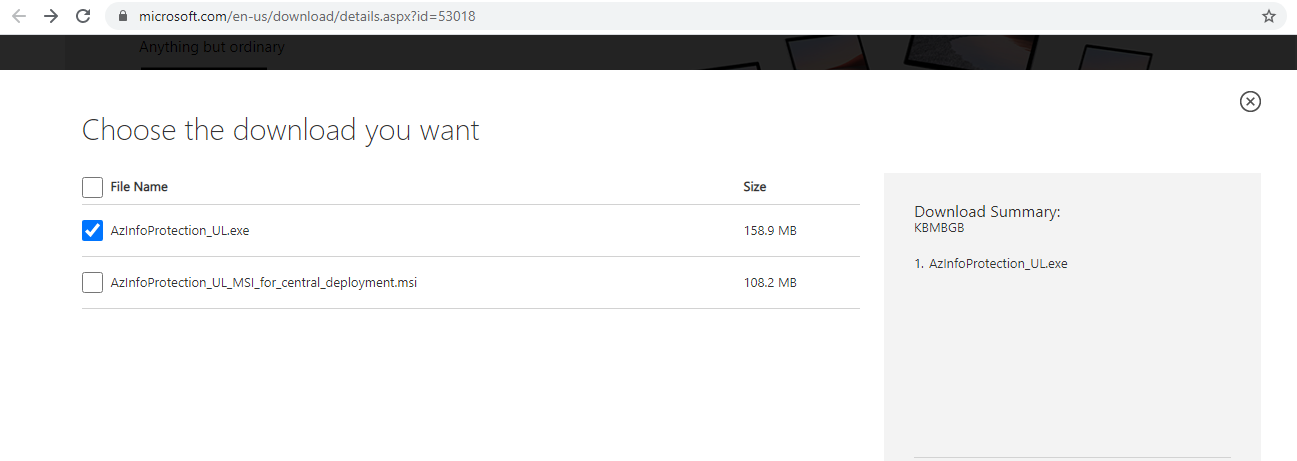
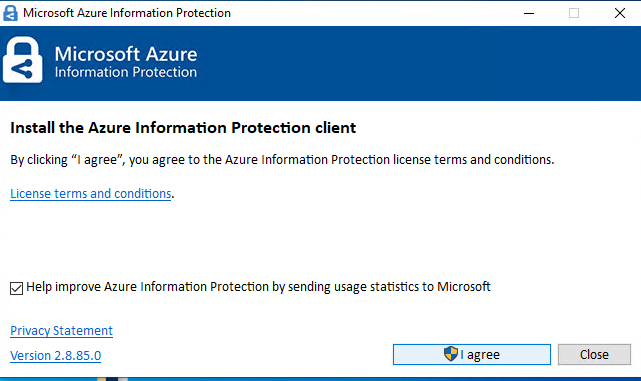
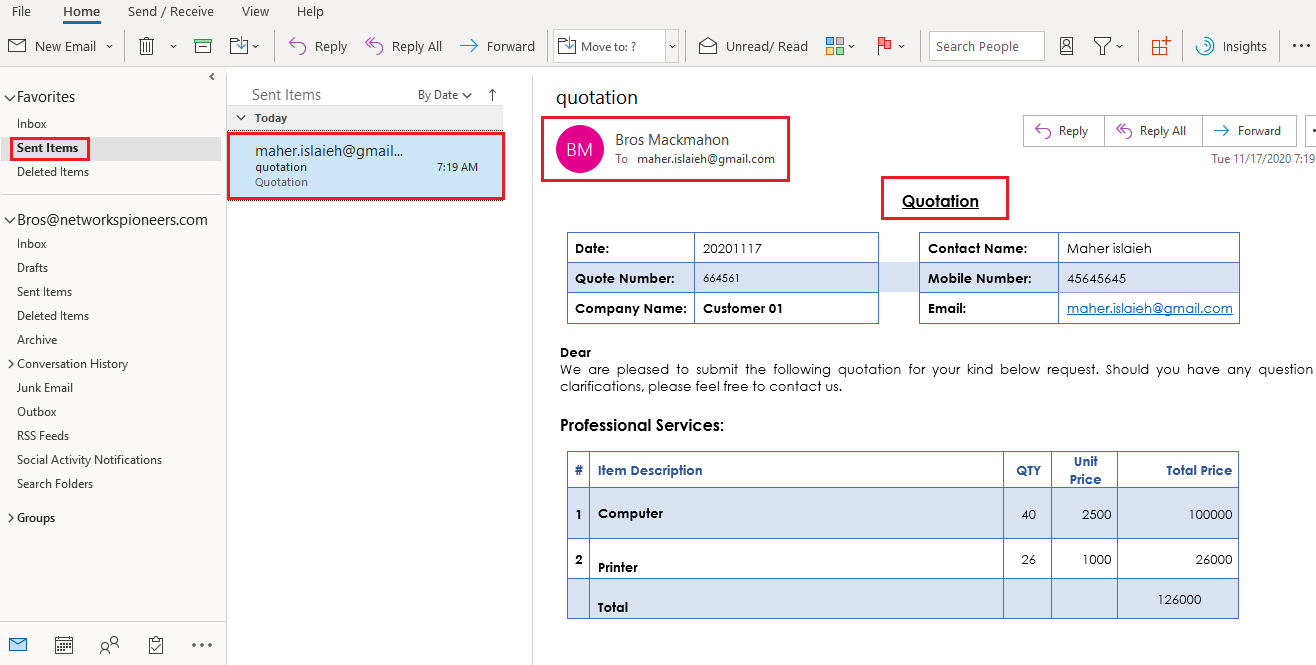
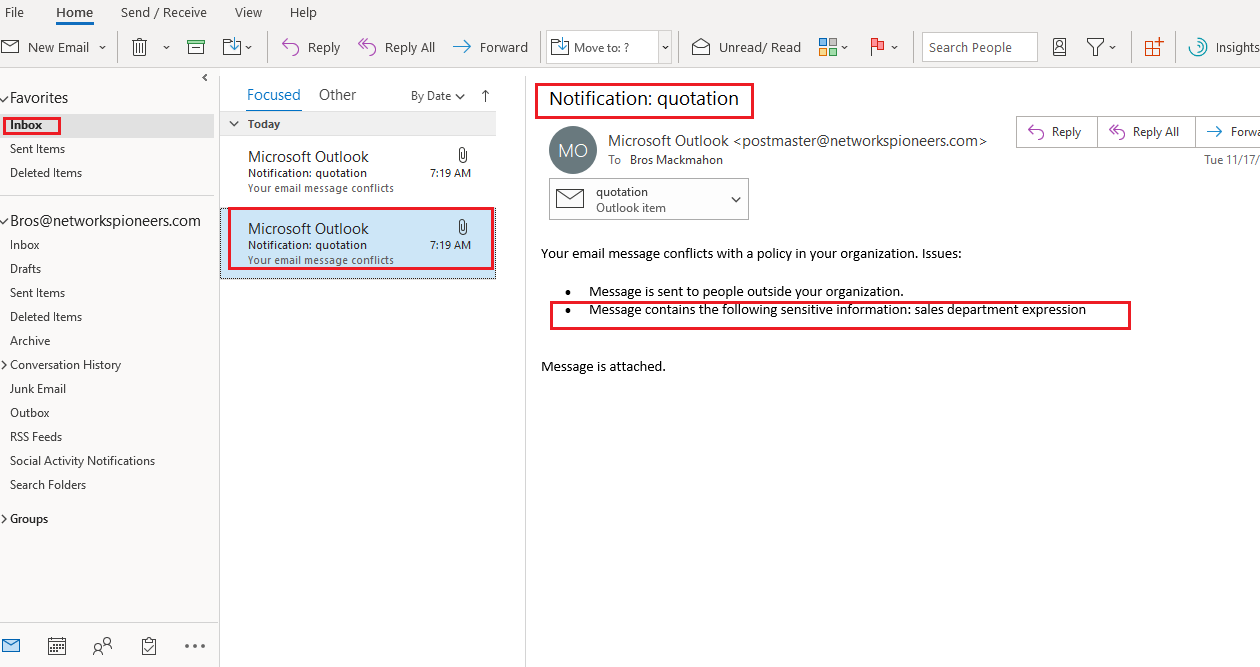
MIP Azure Information Protection: apply label Automatically Microsoft 365 Security November 16, 2020November 18, 2020 maher islaieh introduction in previous article we have got an overview about AIP concepts this article we will see how to configure AIP on cloud on on premise [end client computers ] Manual Classification vs Automatic Classification in most companies : we deal with huge mount of data.So,,,applying label manually is not practical. Therefore,,AIP offers automatic data classification to overcome this challenge.Using automatic classification : we can apply conditions to labels.When conditions are met, it will automatically apply the relevant label to data. This feature supports many industry recognized information types.It also allows to create our own conditions with information patterns specific for our requirements.condition can be either automatic classification or recommended classification.If it is automatic classification, label will apply immediately after conditions are met.If its recommended classification, system will recommend the label but will not apply it to data. AIP steps AIP configuration include the following steps Activate AIP through https://portal.azure.com/#home Create and publish labelsConfigure AIP policiesDeploy AIP client to computersEducate end usersIncrease restriction over time : since client users will get more familiar with AIP conceptsWe can review and revoke access to protected docx step -: Activate AIP The protection service is automatically activated for new customers.to Confirm that it’s activated now or later, as follows:open https://portal.azure.com On the Azure Information Protection pane, select Manage > Protection activation.Confirm whether protection is activated for your tenant open https://portal.azure.com search for azure information protection confirm AIP activated 03- Create custom sensitive information types as mentioned previously : we can on of predefined sensitive information type For Better View > Open Image in different TAB but some time you should create your own custom type to match your company criteria for example : suppose that sales department need to track ALL document like Quotation and RFP and RFQ below we will create custom information type for sales department that include any express for sales department like : quotation , RFQ , RFP and so on set nam type expression you look to track finish its bette rrto test your custom type test type upload text file include one of your expression found 🙂 sensitive type added create label organization might already have labels because wither :they were automatically created for tenant,or because you have sensitivity labels in the Office 365 Security & Compliance center, the Microsoft security center, or the Microsoft compliance center. Let’s take a look:Under Classifications, select Labels.You might already have default labels created. The following image shows the labels that are created by default with Azure Information Protection: https://protection.office.com/sensitivity?viewid=sensitivitylabels below we will create our custom label that will automatically add watermark to your document if detect it contain any expression to sales department also it will send you notification if you send email contain any sales department expression login to https://protection.office.com/sensitivity?viewid=sensitivitylabels set label name applied to file and email when detect sensitive data : >> the action be add watermark customize watermark customize watermark select auto apply when label will be triggered : when sales department data detected we decreased occurecy to one : which means that ONLY one expression in your file is enough to trigger label next create label DONE label created publish label after we have create label : we have to publish it through policy : select label policy publish label choose label label selected label selected apply to ALL user in organization policy settings set policy name review and sumit label published install AIP client on client we have ONLY one step : downliad and install AIP clientif you have big number in your organization >> you can deploy it through group policy object AD GPO or using configuration manager SCCM visit URL and download file install file installation process installation completed 🙂 as simple as it test AIP Auto label we can test AIP label by one of tow : create word doc contain some sales department expression send email contain some sales department expression create word doc contain some sales department expression send email contain some sales department expression bros user recieve email that his sent email include sensitive data Coclusion in this article we have seen how to create label to be applied automatically next we will see how to create label to selected manually from end user with different action thank your for joining us