in previous three articles we tried to get an overview of SCCM functionalities , features , releases history , roles , and hierarchy , in this article we will discuss SCCM installation prerequisites before start installation
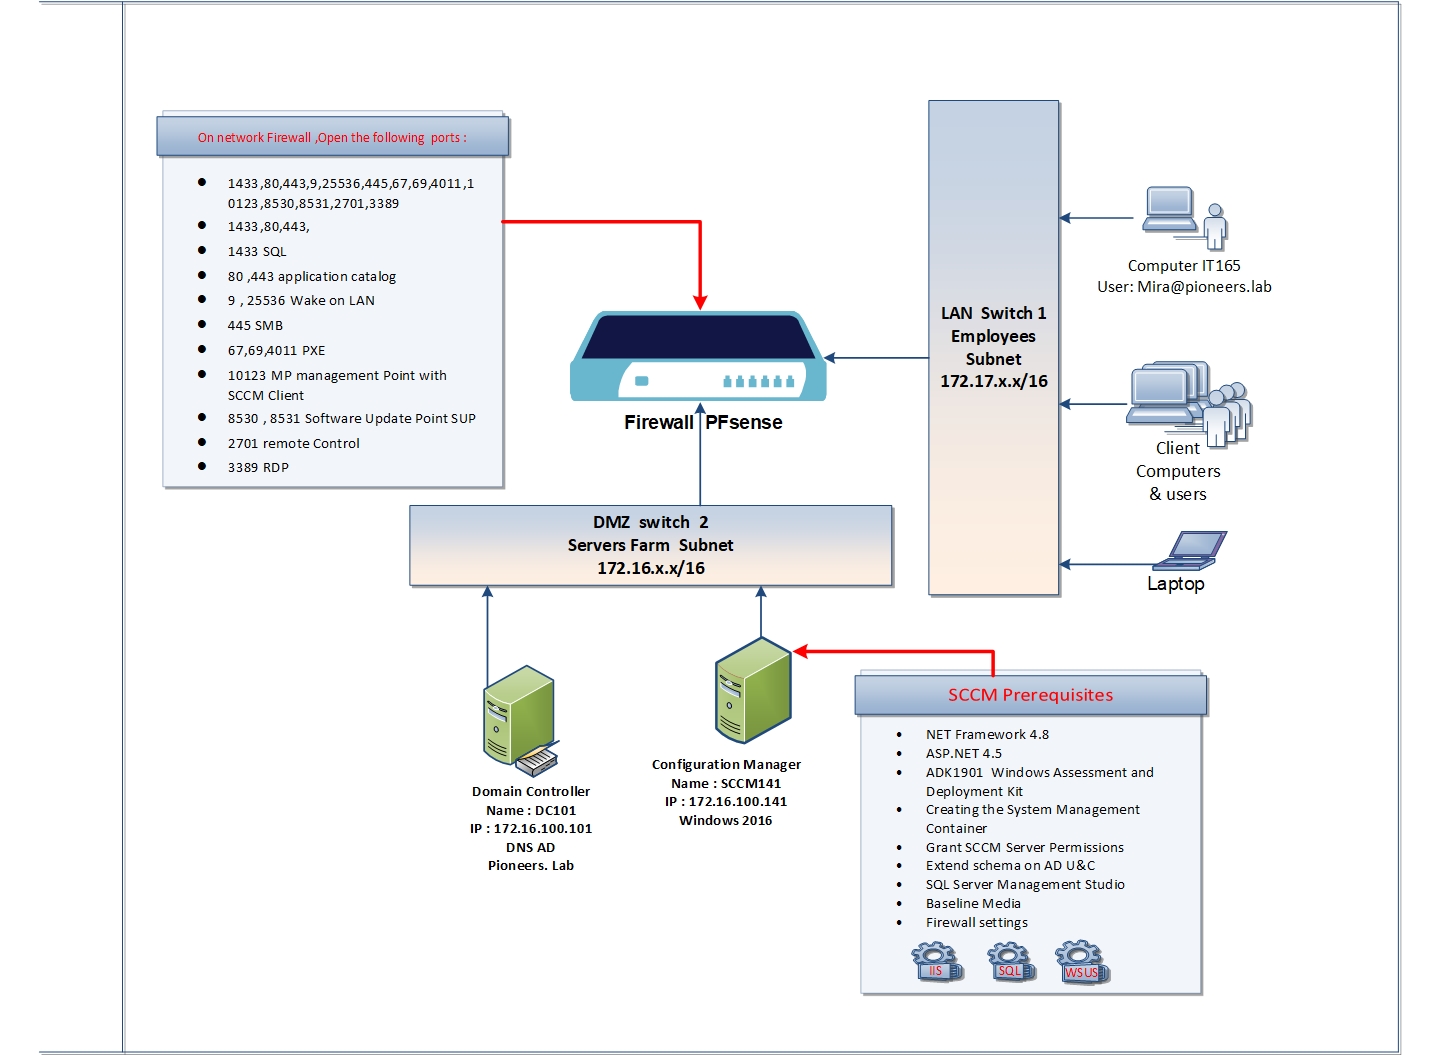
network diagram
SCCM prerequisites diagram
please have a look to network diagram above
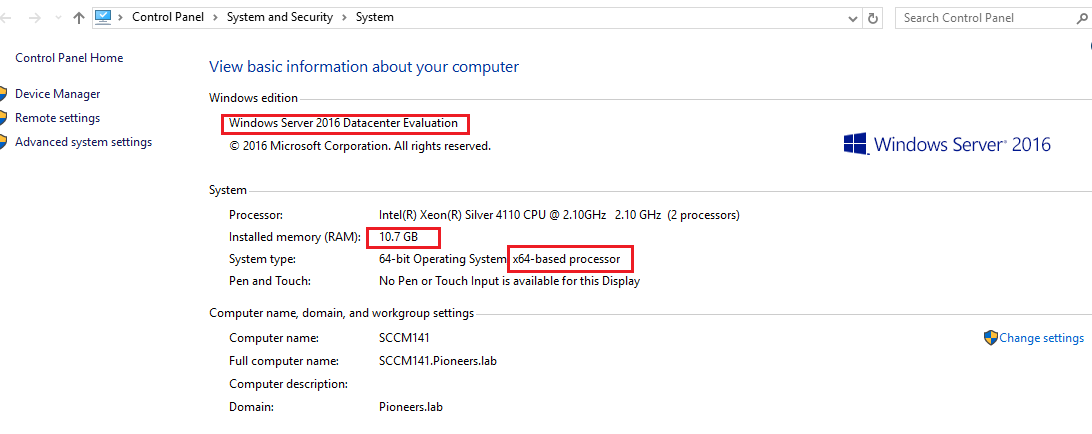
Configuration Manager will be installed on windows 2016 server with the following specification
name SCCM141.pioneers.lab
RAM 11 GB
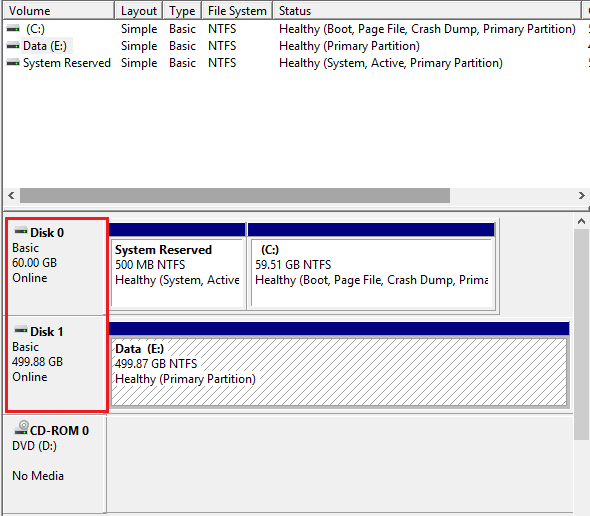
first HDD 100GB for OS
second HDD 500 GB for Data and update
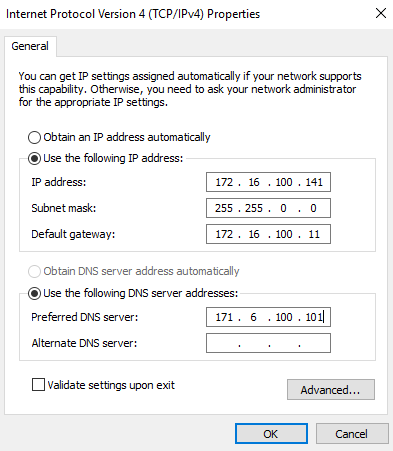
IP address : 172.16.100.141
subnet mask 255.255.0.0
default gateway : 172.16.100.11
DNS server : 172.16.100.101
domain name : pioneers.lab
let us to discuss ALL SCCM installation prerequisites one by one
Server Identity
Server Identity include nothing but :
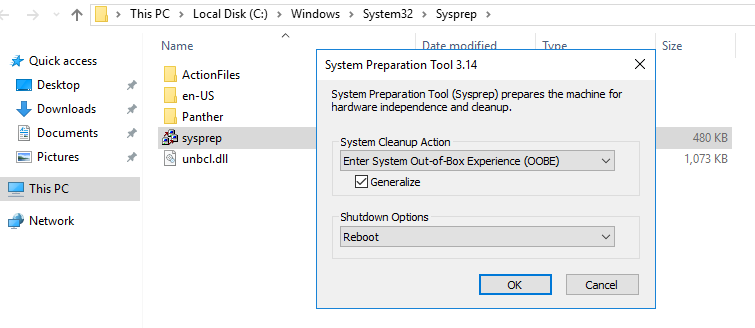
sysprep to create new security identifier SID if server is cloned
Ip address
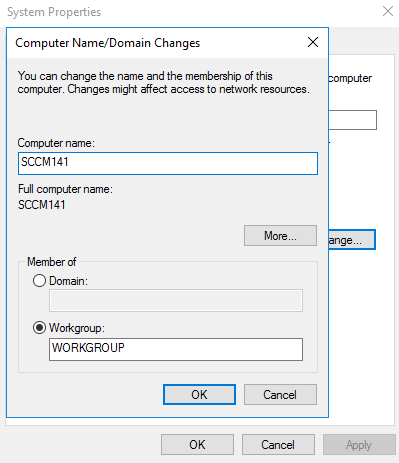
server name
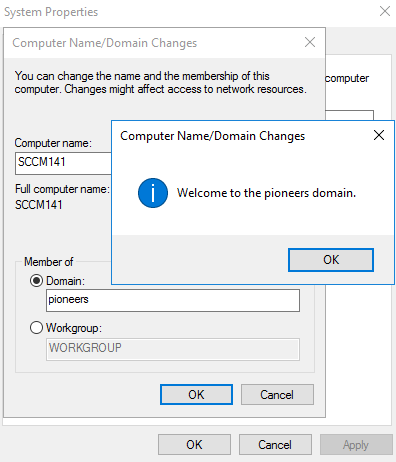
join AD
as you see below
sysprep
IP address settings
server name
join AD
Server Specifications
server specifications include :
CPU : 2×2 = 4 Cores
RAM 11 GB
first HDD 100GB for OS
second HDD 500 GB for Data and update
server HW
server HDD
Create container system management in AD
This first step after server identity is to create a container. Called system management container in active directory pioneers.lab
This container will be used to publish data to Active Directory.
Please note that You have to create container in every domain that has a primary or secondary site. >> currently we ONLY one domain pioneers.lab
To create system management container
Login to domain controller with a domain admin account.
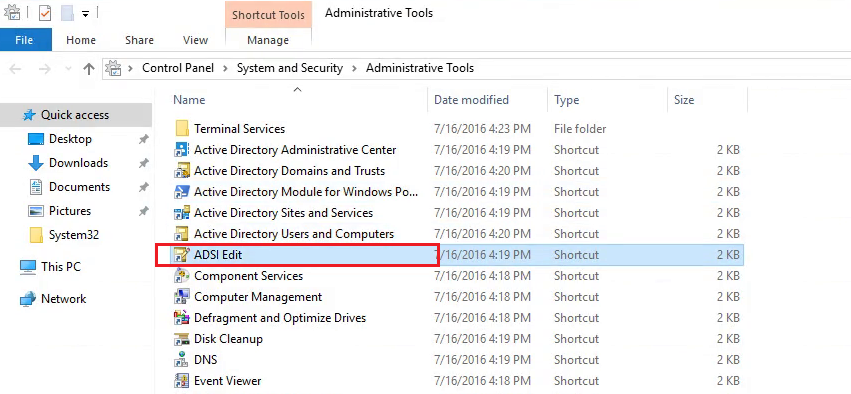
Click Start , All Programs, Administrative Tools.
Select ADSI Edit.
Right click ADSI Edit and Click Connect to.
The naming context should be Default naming context. Click OK.
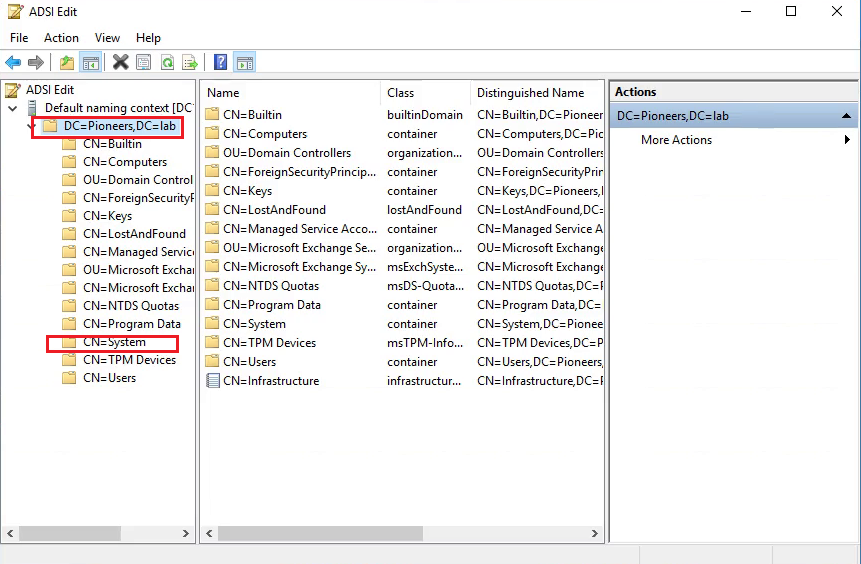
In the ADSI edit Console, Expand the Default Naming Context.
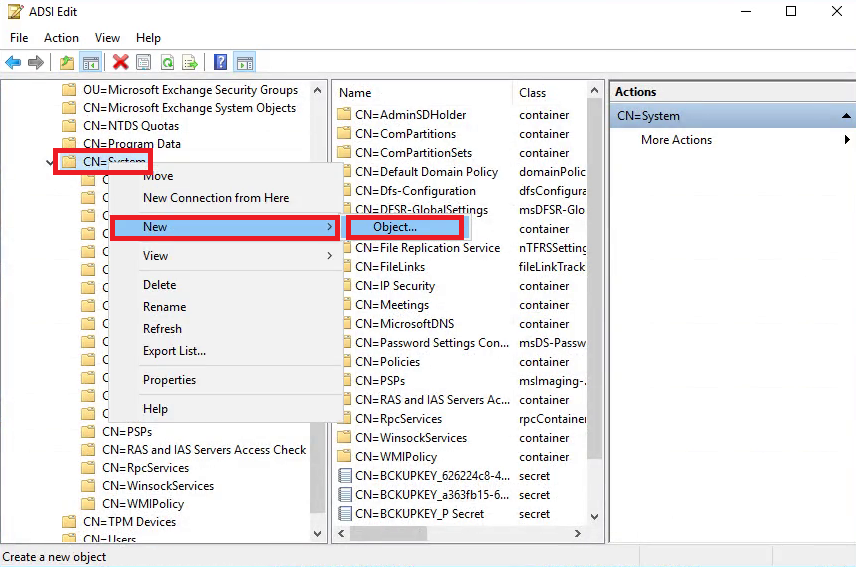
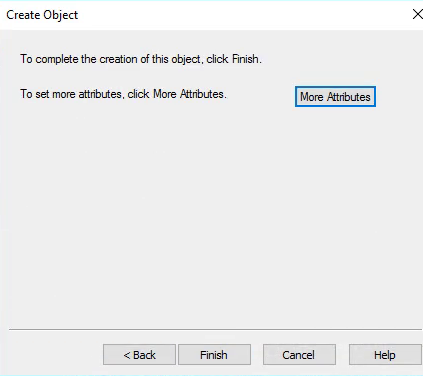
Right click CN=System, Click New and create an Object.
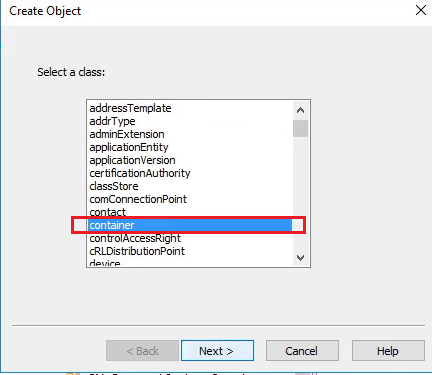
Select Container from the options. Click Next.
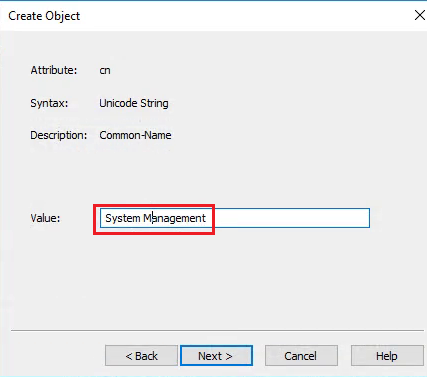
Provide the object value as System Management.
Click Next and refresh the ADSI edit to see the system management container in the console.
open ADSI edit
select system
select create new container
select container
name of container [ system management ]
finish
Grant SCCM Server privileges on Container[System Management ]
Now ,,,,, After we create System Management container, >> we must delegate SCCM server SCCM141 full permissions on System Management container.
To do so follow the below steps.
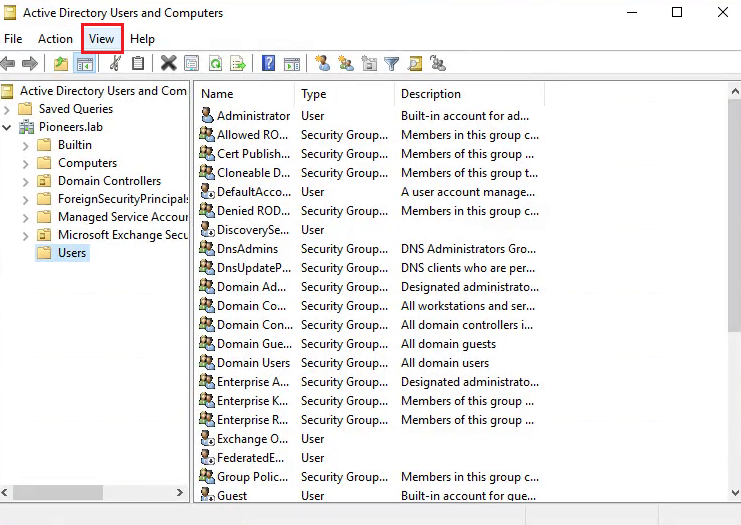
Open console Active Directory Users and Computers.
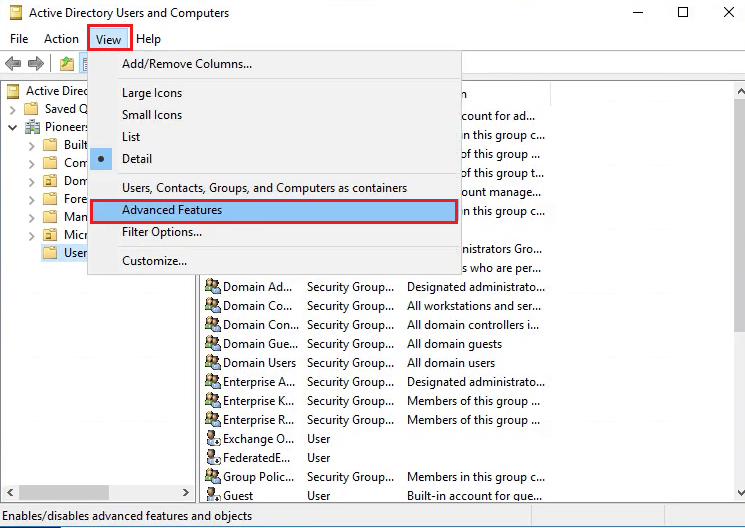
Click View and click Advanced Features.
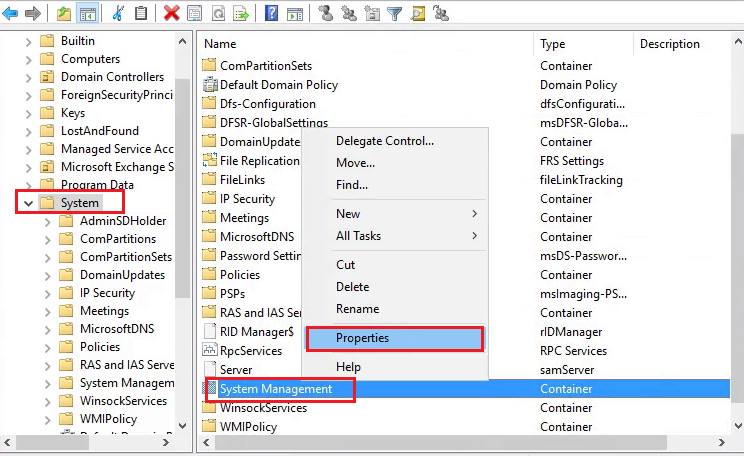
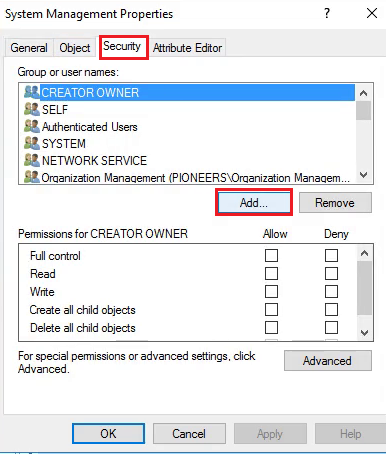
Expand System, right click System Management and click Delegate Control.
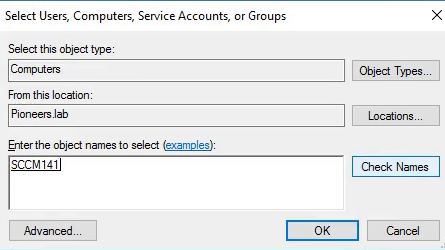
Click Add. On select users, computers or groups window click on Object Types and check for Computers as object types. Click OK.
Type the name of the primary site server computer account and click OK.
Add primary site server computer account and Click Next.
On the Tasks to Delegate page, click Create a custom task to delegate. Click Next.
Select This folder, existing objects in this folder and creation of new objects in this folder. Click Next.
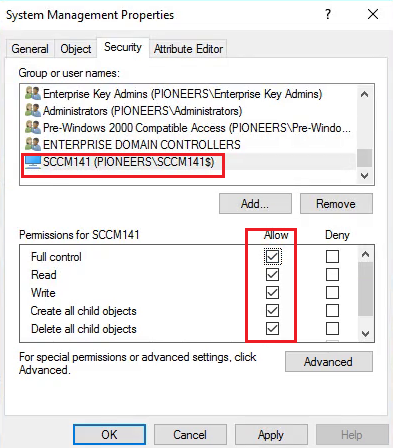
Select General, Property Specific and Creation/deletionof specific child objects
Under permissions, click Full Control. When we check the box Full Control, all the other permissions gets checked automatically
Click Next and click Finish to close the wizard.
select view from AD console
select advanced features
system > > system management > properties
security > add
select server SCCM141
select full control
Extending Active Directory Schema
To extend Schema, use an account that is a member of the Schema Admins security group. [pioneers\administrator]
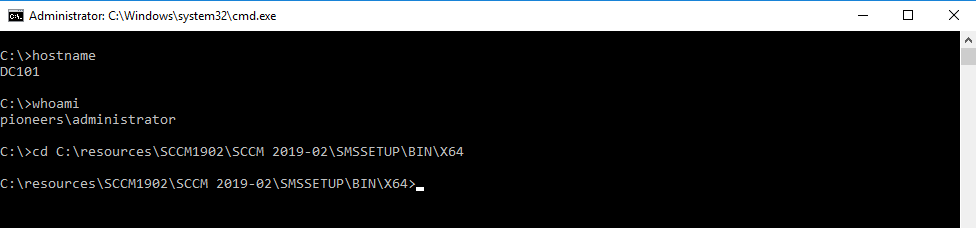
login to domain controller DC101 directly and insert SCCM DVD
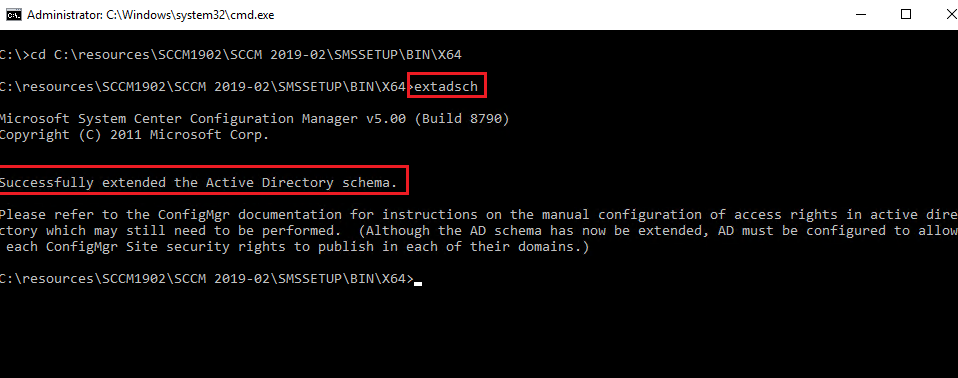
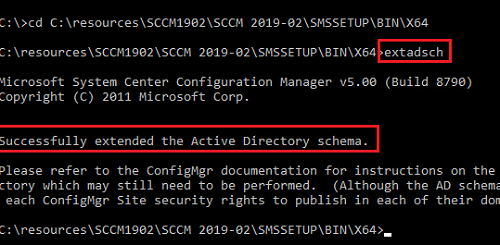
Locate the extadsch which can be found in SMSSETUP\BIN\X64 of the configuration manager setup DVD.
Hold the shift key on your keyboard and right click extadsch and click on Copy as Path.
Launch the command prompt. Right click and click paste and hit enter.
You should see the line Successfully extended the Active Directory Schema.
Open the log file extadsch.log located in the root of the system drive. You should see the line Successfully extended the Active Directory Schema.
open CMD and move to path
run command extadsch
Install Web Server IIS
Most of SCCM services are relay on IIS
SCCM should have IIS installed with some services >
Some IT administrators prefers to install ALL IIS services > here in network pioneers we prefer to install ONLY required services
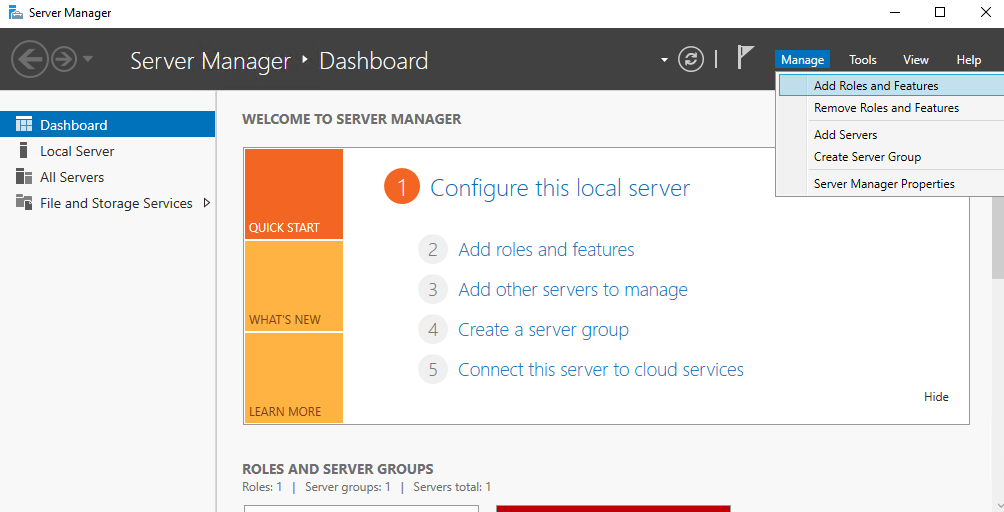
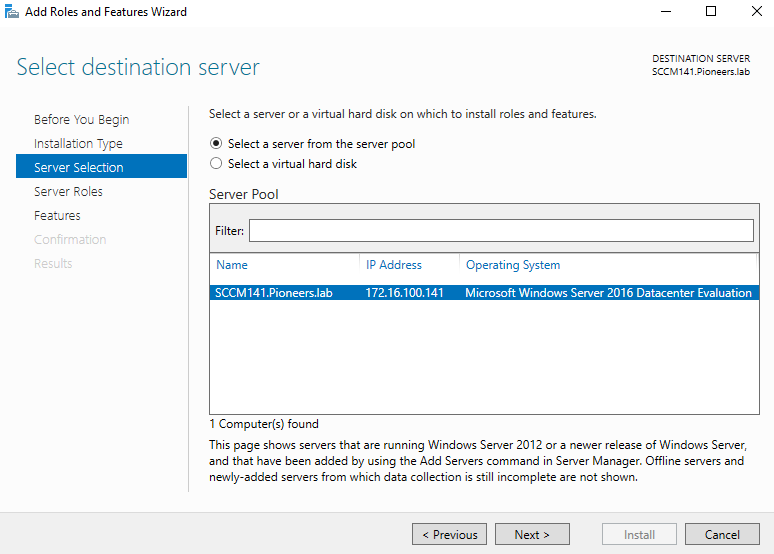
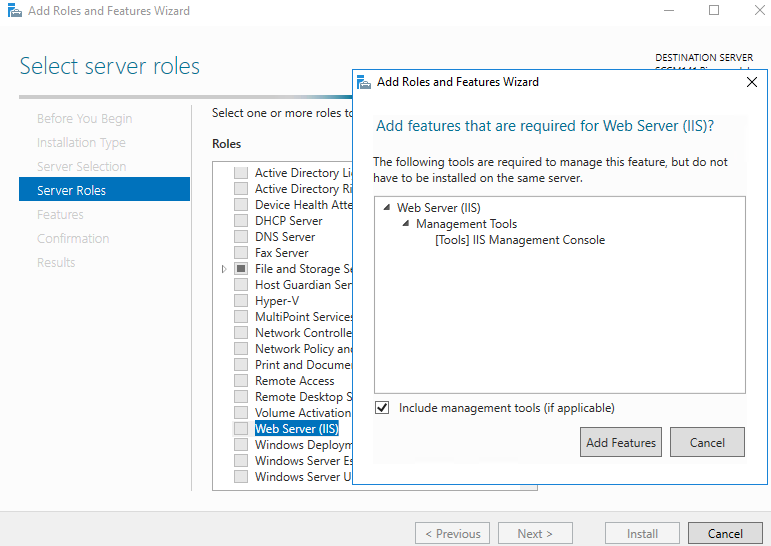
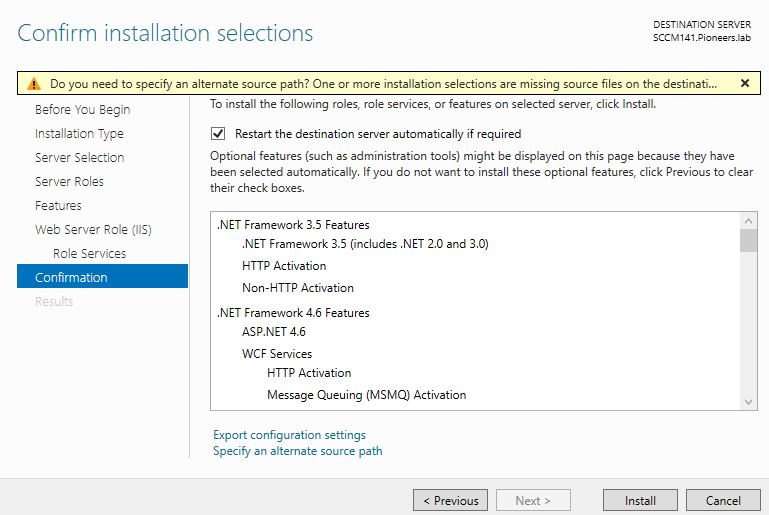
To enable Web server role and other features, login to SCCM server. Launch Server Manager and click Manage > Add Roles and Features. Select Web Server (IIS) server role and click Next.
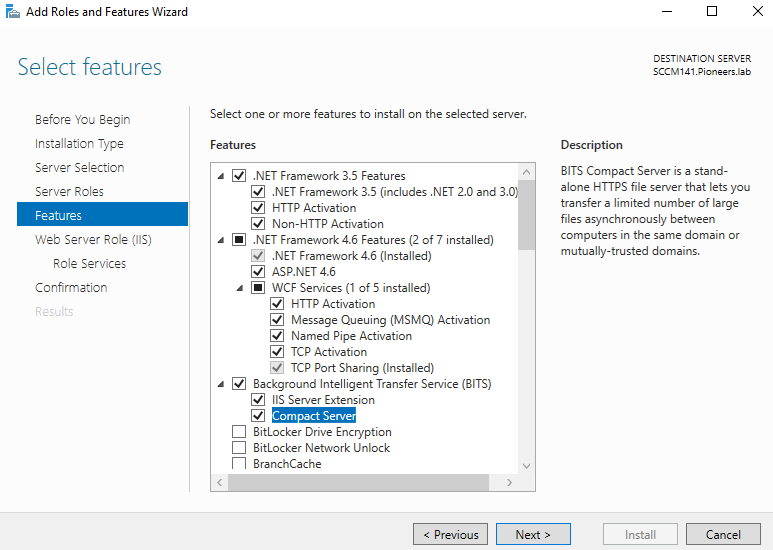
Enable/Install the following features :-
.Net Framework 3.5 Features [Install all sub features]
.Net Framework 4.5 Features [Install all sub features]
BITS
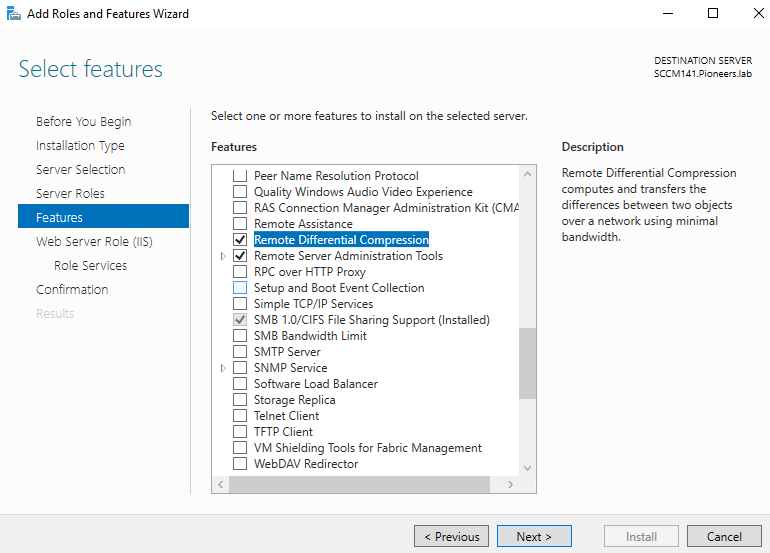
Remote Differential Compression
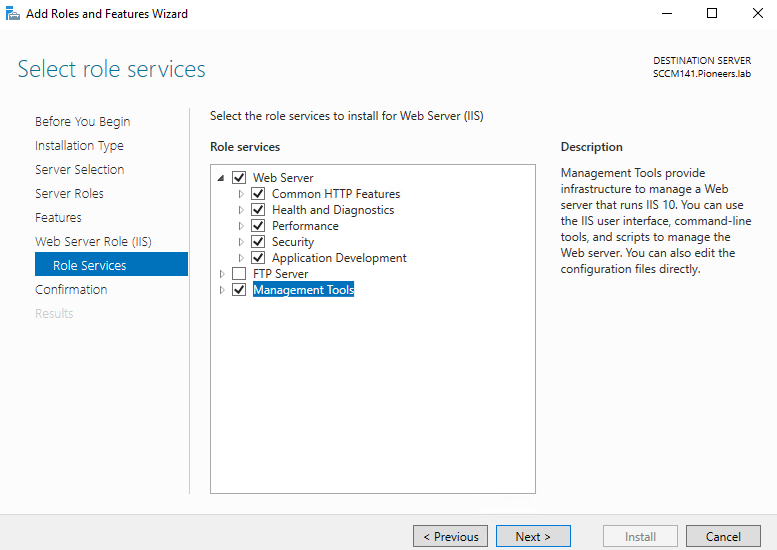
Enable/Install the following Roles Services :-
Common HTTP Features – Default Document, Static Content.
Application Development – .NET Extensibility 3.5 and 4.5. Select ASP.NET 3.5, ISAPI extensions, ASP.NET 4.5.
Security – Windows Authentication.
IIS 6 Management Compatibility – IIS Management Console, IIS 6 Metabase Compatibility, WMI Compatibility and IIS Management Scripts and Tools.
Complete the installation of all the features and role services and close the wizard.
select add new role
select server
select IIS and accept to add pre-req
select specific features
select specific features
select services above
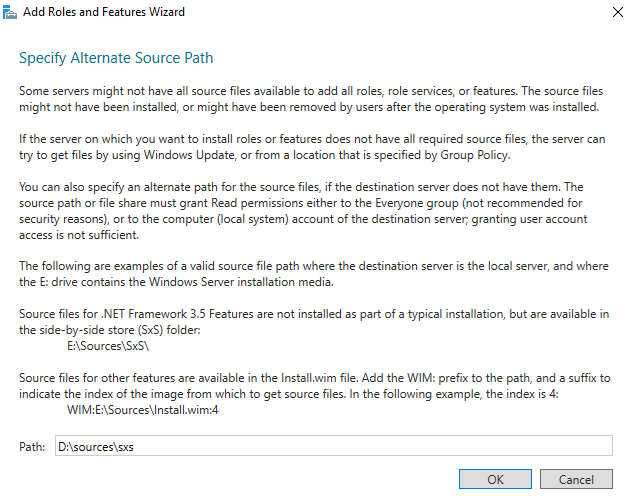
make sure windows DVD inserted and select path to accelerate installation
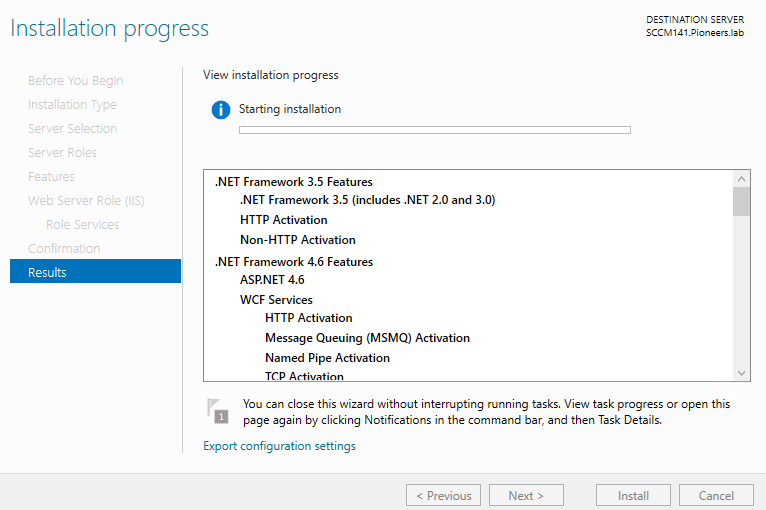
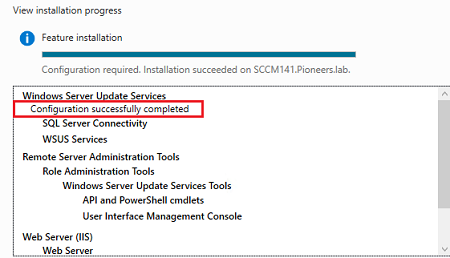
install
installation process
DONE
Installing Windows ADK
The Windows Assessment and Deployment Kit (Windows ADK) has the tools you need to customize Windows images for large-scale deployment, and to test the quality and performance of your system, its added components, and the applications running on it. The Windows ADK includes:
The Windows Assessment Toolkit and the Windows Performance Toolkit to assess the quality and performance of systems or components.
Deployment tools such as WinPE, Sysprep, and other tools that you can use to customize and deploy Windows 10 images.
Starting with Windows 10, version 1809, Windows Preinstallation Environment (PE) is released separately from the Assessment and Deployment Kit (ADK). To add Windows PE to your ADK installation, download the Windows PE Addon and run the included installer after installing the ADK. This change enables post-RTM updates to tools in the ADK. After you run the installer, the WinPE files will be in the same location as they were in previous ADK installs.
We need to download the Windows ADK 1903 Win PE addon. For the list of Windows ADK version
Download the Windows ADK for Windows 10, version 1903
Download the Windows PE add-on for the ADK
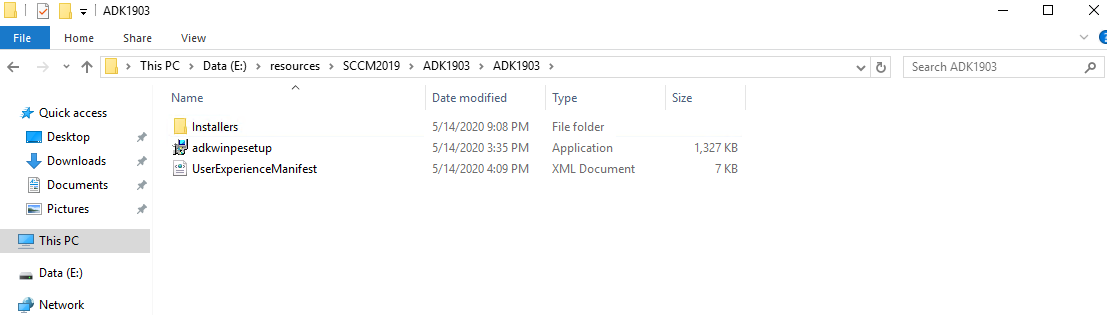
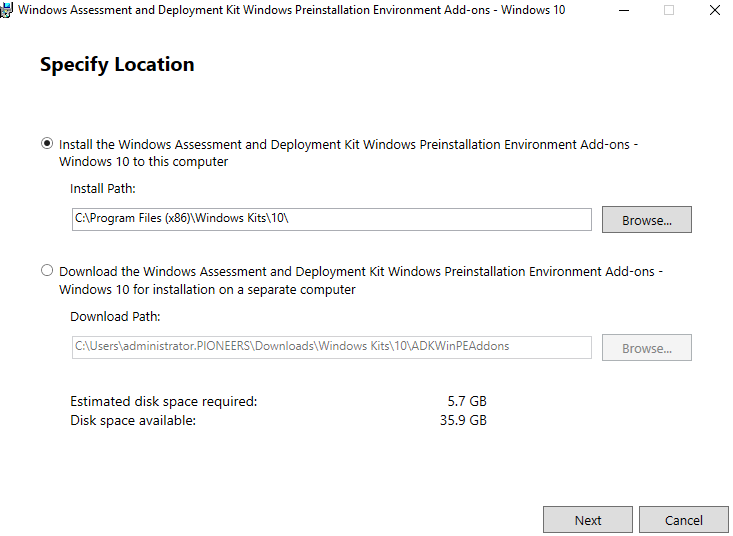
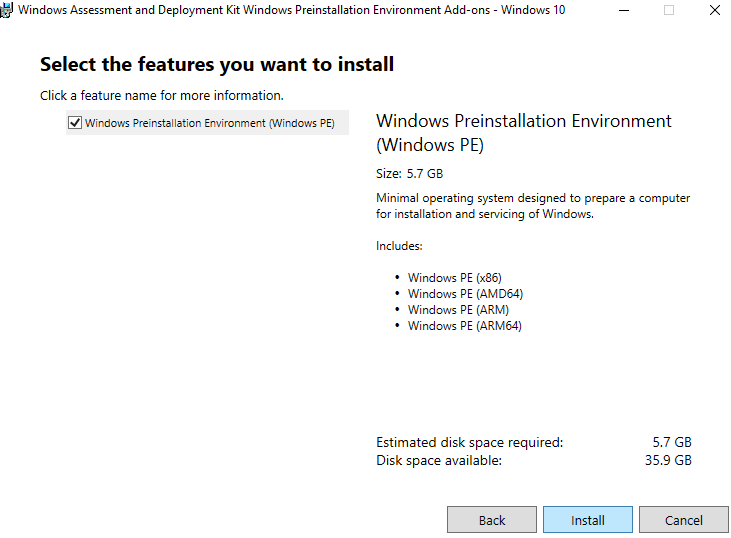
install the Windows PE add-on for the ADK as images below :
run setup
select to download
accept
install
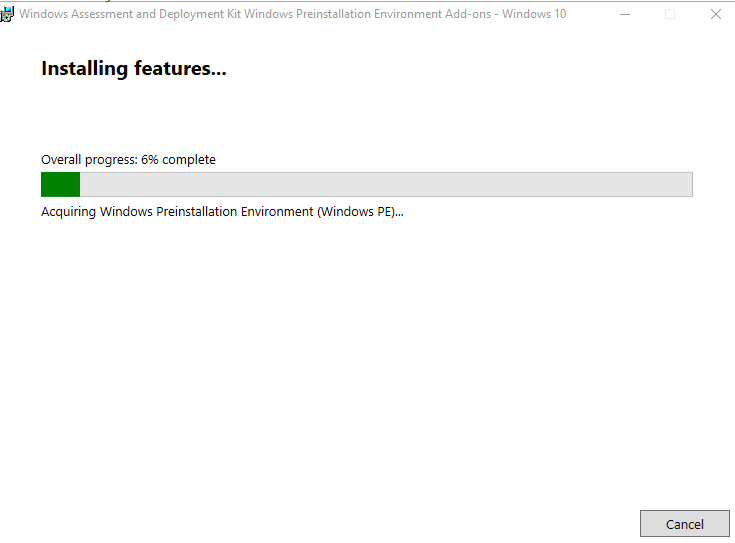
installation process
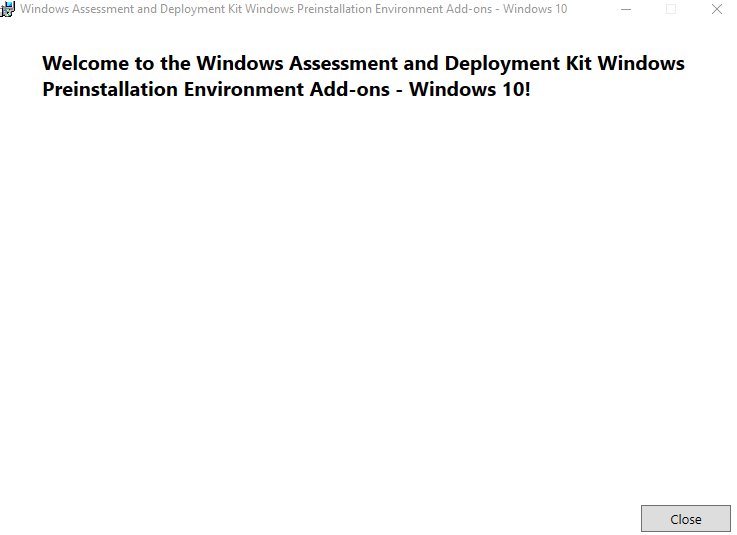
DONE
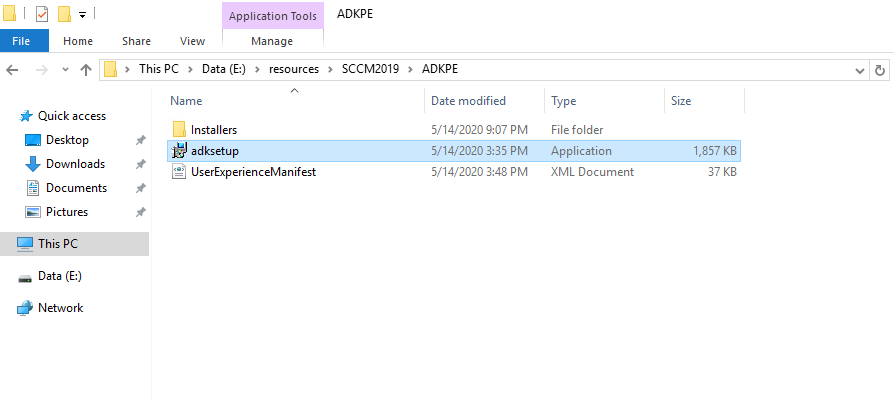
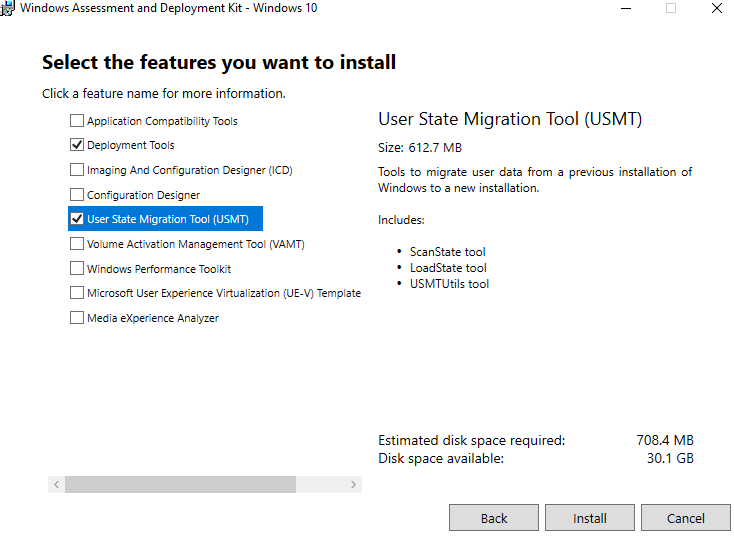
Then install Windows ADK version 1903. Run the ADK setup and select the following features.
Deployment Tools
User State Migration Tool
run setup
select to install
select specific selected
installation process
DONE
Conclusion
in this articles : we have discussed the first part of prerequisites of SCCM
next articles we will keep working to install the remains part of prerequisites of SCCM which include :