vsphere installation is straight forward process VMware has released ESXI version 7.0 ,which is good news but here in networks pioneers currently we w ill install previous version ESXI-6.7 which released in 2019 for upgrading purpose and to make comparison between both version
before starting installation :
VMware has many training course ,
and this course vSphere ICM refer to :
Installation
Configuration
Management
ESXI installation network diagram
ESXI insstallation Network diagram
before diving inside ESXI installation , let us have a look to network diagram above
we have
domain controller DC101.pioneer.lab
3 ESXI servers
ESXI151 with IP address 172.16.100.151
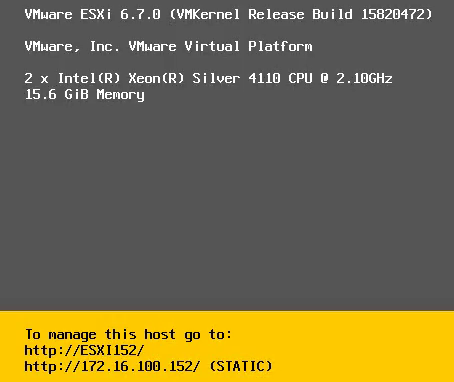
ESXI152 with IP address 172.16.100.152
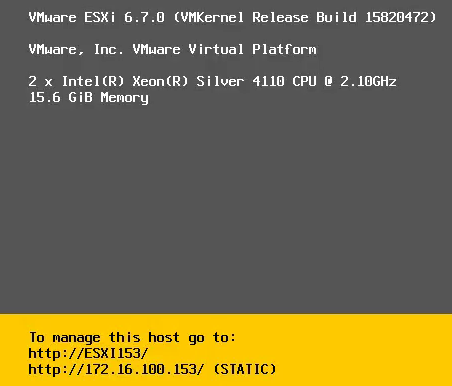
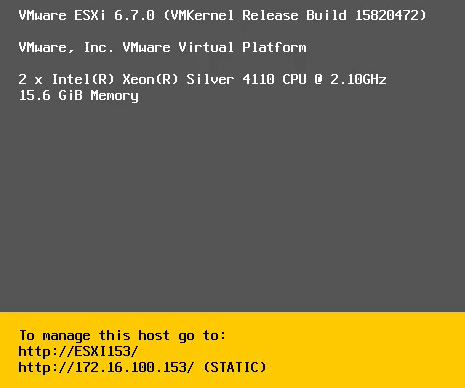
ESXI153 with IP address 172.16.100.153
, each server has the following hardware specifications :
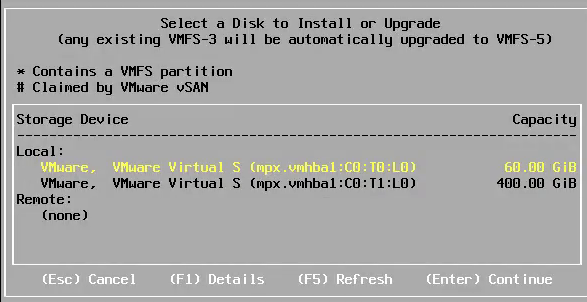
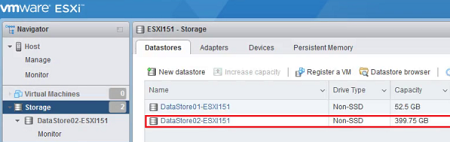
Hard Disk HDD01 with capacity 60GB ,
Hard disk HDD02 with Capacity 400 GB as stor
2 CPU with 8 core for each > 2×8 =16 Core
16 GB RAM
8 NIC > you might wonder why 8 > jut keep calm and later will discuss even we will need more than 8 NIC if available
installing ESXI-6.7
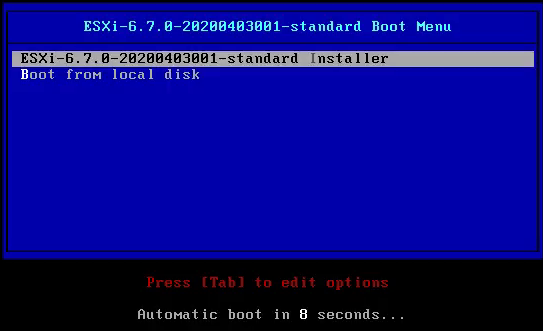
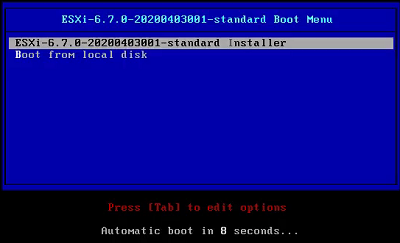
insert ESXI DVD into server and boot
boot from DVD installation
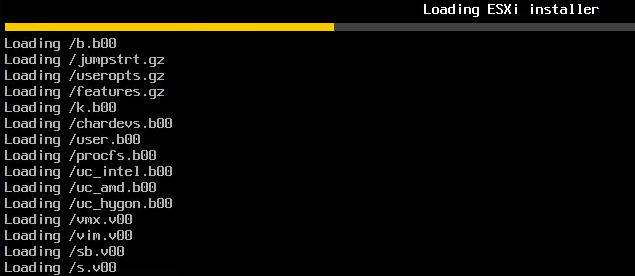
booting process
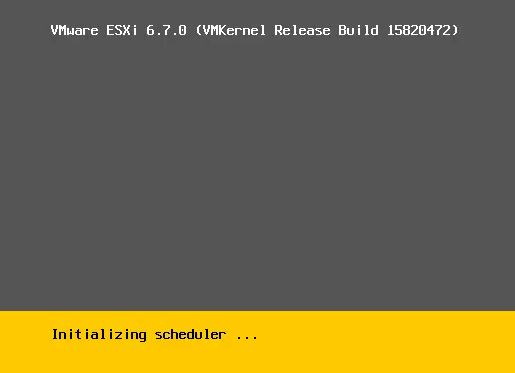
installer initialized
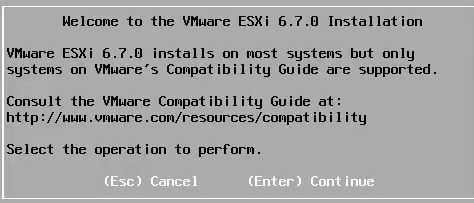
press enter
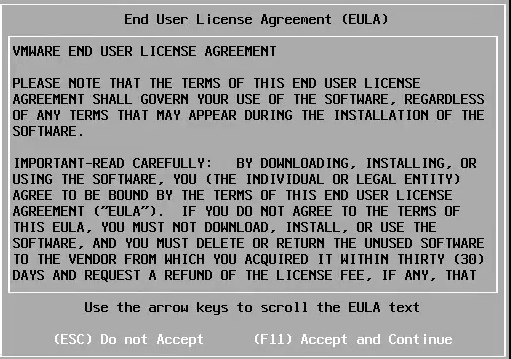
F11 to accept
we have 2 HDD > select HDD with 60GB .
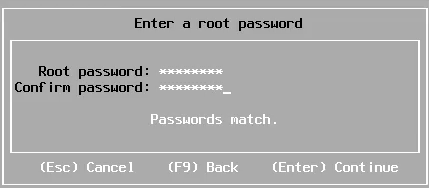
set root password
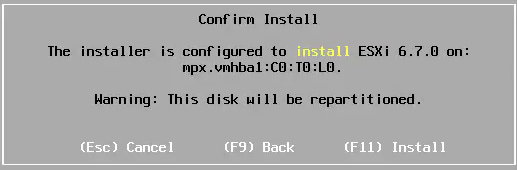
press F11 to start installation
installation process
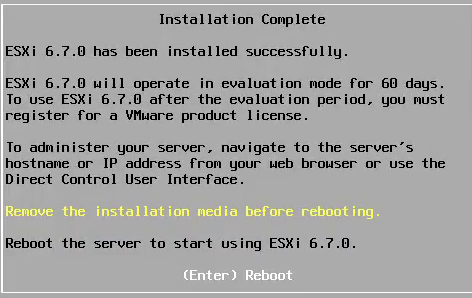
DONE > installation finished
press enter to boot
set identity foe ESXI server
now it’s time to set identity for ESXI server
which are :
server name
IP address V4 with subnet mask and default gate way
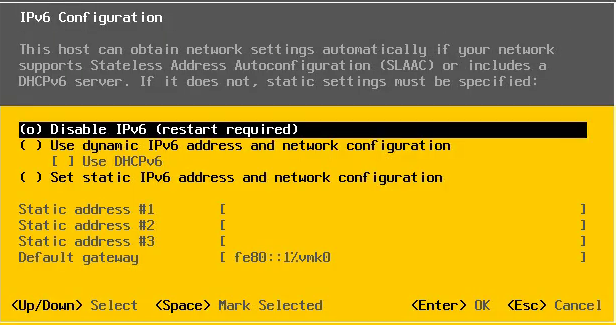
IP address V6 > currently we will disable it , since we will cover IPV6 later in separate article
DNS server
Domain name
ESXI is Linux machine unlike microsoft windows : doesn’t SID > so just configure settings above is enough to set ID
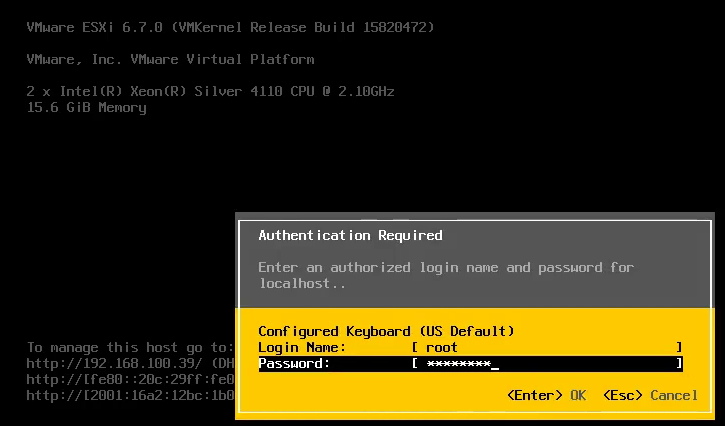
as you see all initalized setting are dynamic >press F2 to customize server
provide credential : root & password
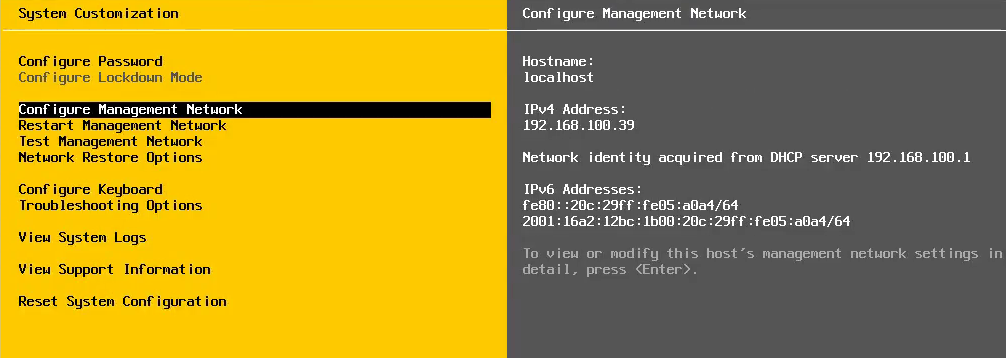
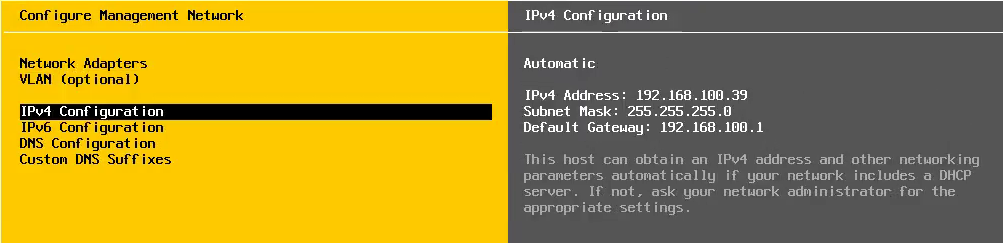
server configuration page
select configure management network
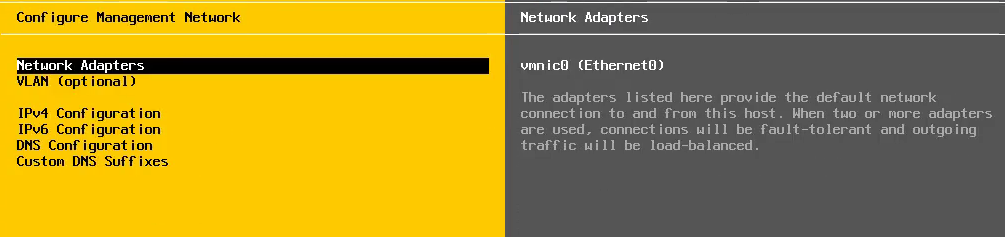
select network adapter
elect first two NIC for redundancy > the other NIC with be used later
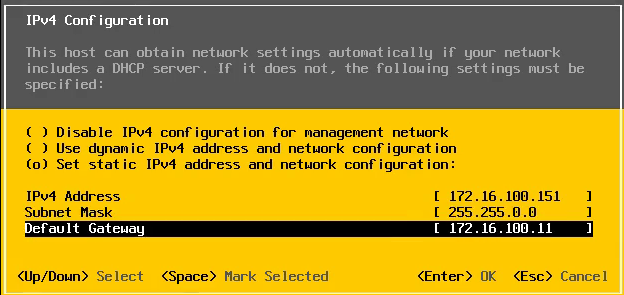
configure IP v4
set ip address , subnetmask , and gateway
disable ip v6
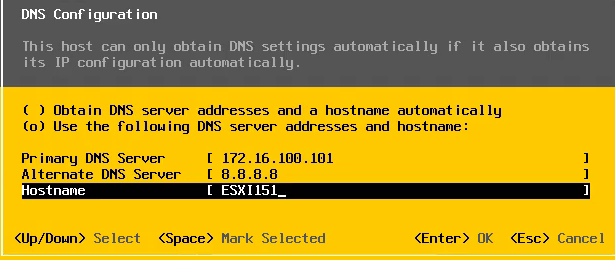
set dns server and hostname
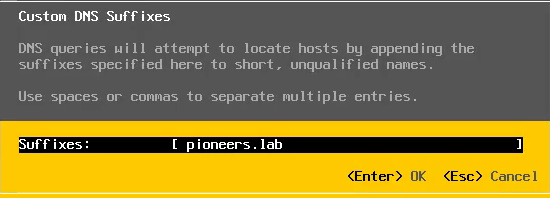
set domain name
press ESC to restart server
server ESX151
server ESXI152
server ESXI153
Conclusion
in this article : we have discussed how to install ESXI server version 6.7 and how to set identity [name , ip ,domain name]
in next article we will see how to manage server and integrate it with pioneers network